Ombre nail designs turn two colors into one soft fade, and that blended finish often looks more expensive than a single flat shade. Here are 13 ombre nail ideas to try this year, plus simple at home tips.

What Ombre Nails Are
Ombre nails use two or more colors that gradually blend into each other, with no hard line where one shade ends and the next begins.
The fade can move from the cuticle toward the tip, across the nail from side to side, or in the opposite direction. The word ombre comes from French and means shaded, which fits the soft, melted look.
This is different from a French tip, where the line between the base and the tip is more visible. Baby boomer nails are a soft ombre, usually pale pink or nude fading into milky white, with a clean and natural finish.
Reverse ombre starts darker around the cuticle and fades lighter, vertical ombre moves side to side, and aura nails put the strongest color in the middle and soften it outward.
For more ombre nail design ideas, the same soft blend can be adapted to almost any color story.
Jump To
How to Do Ombre Nails at Home
You can do a simple sponge ombre at home with regular polish. Start with a light base color over the whole nail and let it dry.
Place two polish colors next to each other on a makeup sponge with a slight overlap, then press the sponge gently onto the nail. Add another thin layer if you want more depth, clean polish from the skin, and finish with a glossy top coat.
Thin layers usually give a smoother fade than one heavy pass. Tap the sponge rather than dragging it, and use a clean part of the sponge as you move from nail to nail so the colors do not turn muddy.
For gel, use the same sponge technique with gel polish and cure each layer under a UV or LED lamp according to the product instructions. Gel wear is about 2 to 3 weeks, compared with about 5 to 7 days for regular polish.
For a baby boomer brush blend, apply opaque white to the free edge and blend it upward, then apply sheer baby pink at the cuticle and blend it down to meet the white.
A streaky middle can come from visible dab lines, thick layers, or too much polish on the sponge. Starting with colors close in depth is easier for beginners. This ombre gel nail design tutorial walks through the curing steps.
Ombre Nail Designs to Try
This roundup moves from gentle first time looks to office friendly fades, French and baby boomer styles, pink and peach color stories, sparkle, bright candy color, short lengths, cool winter tones, and lavender. Finish matters too.
Glitter ombre puts most sparkle toward the tip and fades toward the cuticle, with fine glitter giving the softest result. Chrome powder over a finished fade adds reflective shine and is usually easier with gel products.
Sheer ombre keeps some natural nail visible and grows out more naturally.
Delicate Floral Details
This is a springtime look for anyone trying ombre for the first time. White fades seamlessly into a natural base, so the transition stays soft instead of looking like a painted tip.
Tiny blooming gel flowers add a sweet, feminine touch without being loud or overwhelming. It feels gentle enough for work, a wedding guest outfit, or a simple weekend set.
View wear ombre nails if you’re trying the trend
Effortlessly Chic Everyday Look
This elegant everyday ombre is the kind of manicure that goes with every outfit in a closet. The fade is soft enough to feel polished with jeans, a blazer, or a dress, and it does not become tiring to look at after two days.
If you want one set that works from Monday coffee to Friday dinner, this is a strong pick.
Making a Subtle Statement
This design looks complicated, but it is wearable for daily life. The transition is very smooth, melting from a natural base into a tip without a harsh stop. Soft gradient nails read as professional for the office and still feel fun for the weekend.
Save the inspiration photo to show a nail technician if you want the fade to sit in the same place.
Warm Weather Perfection
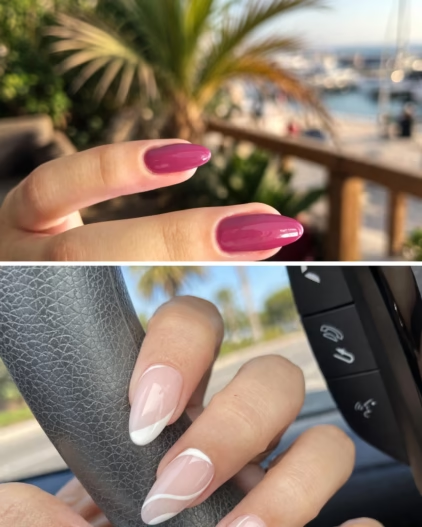
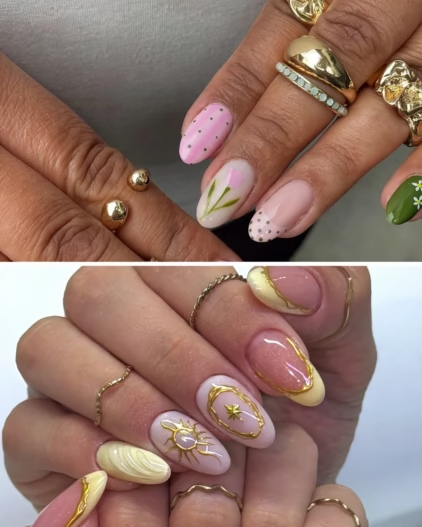
This is a warm weather and outdoor look, the kind that fits vacation season and long days outside. It brings to mind sunset ombre nails seen all over vacation feeds, with a beachy mood that feels relaxed rather than fussy. Keep the rest of the manicure simple and let the fade do the work.
View nails you see all over Instagram during vacation
View 743 readers this monthThe Best 27+ Gel Nail Designs You NEED to TrySee the nail designs
View 19 nail designs19 Festival Nail Designs You’ll Be Obsessed WithSee all 19 nail designs
The Ultimate Classic Twist
French ombre nails are a blended, chicer version of the harsh pink and white block tips many people associate with prom. The white is blended rather than forming a sharp tip line, so the whole nail looks softer and more modern.
If you like the idea of a classic French look but want less contrast, this is the version to save. For a shinier finish, these chrome French tip ideas show another way to update the same idea.
Sweet and Simple Pink
Pink ombre nails are a fun way to embrace a softer, more playful aesthetic. The fade keeps the color from feeling like a flat block, and it works well on short or medium lengths. Choose a pink that flatters your skin tone, then let the lighter end keep the set from looking too heavy.
A Little Bit of Sparkle
A shiny finish over the fade catches the light without covering the blend. It is a good alternative for anyone who wants shine but is not ready to commit to chunky glitter ombre nails.
This is a natural choice for the holiday season or a special evening out with friends. If you need a dressier set for a wedding or party, these classy nail designs for weddings, parties, and events offer more inspiration.
Bright and Cheerful Vibes
An unexpected pink and yellow blend can look like bright candy on the nail. It is playful, cheerful, and a nice break from neutral fades.
Press ons have become very good lately, so they are a convincing shortcut when you are on a budget or short on time for a salon visit. Just check the sizing before you commit so the gradient sits straight.
The Timeless Go-To
This style is called baby boomer nails, and it is also described as a faded French tip. Ombre nails are a staple even though people call them by different names, so do not worry if the label changes from one salon to the next.
A quick picture is often the easiest way to explain the look to a friend or a nail technician.
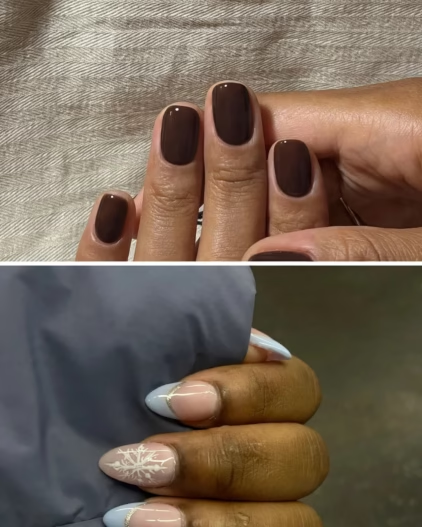
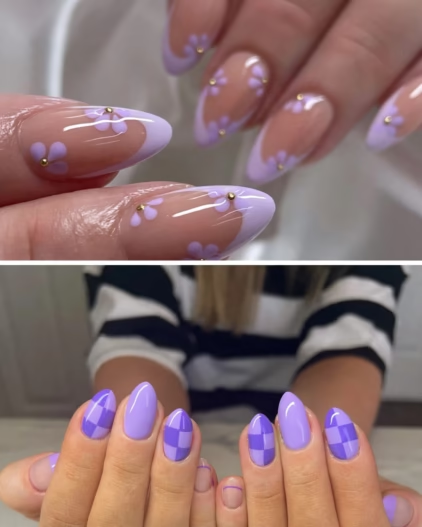
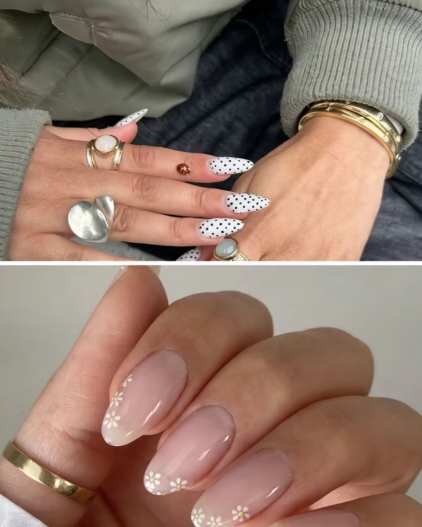
View The Best 23+ Purple Nail Designs You Need To TrySee the nail designs
View 18 nail designs18+ Cool Baddie Nail Designs You Need to Try This YearSee all 18 nail designs
Keeping it Short and Sweet
Super long extensions are not needed to pull off a blended look. A shorter length can be cute and practical, especially if you type, cook, or handle kids all day. Keep the fade compact so the color still has room to move, and let the tip carry most of the deeper shade.
Cozy and Cool Touches
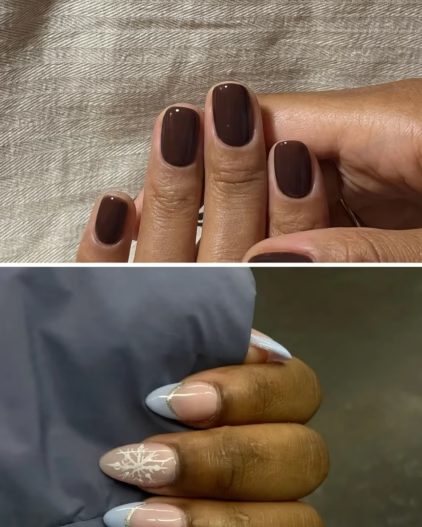
This winter inspired look uses cool, icy tones fading into each other in a crisp way. It feels cozy without turning into a heavy design, and the soft transition keeps the cold colors from looking flat. Pair it with a sweater, a coat, or a simple silver ring and let the fade be the focus.
Lovely in Lavender
A lavender fade is proof that purple is having a large moment. The color feels soft and a little unexpected at the same time, and the ombre finish keeps it from looking like a solid block of polish. It works well when the fade has room to show, so keep the blend smooth from cuticle to tip.
Peachy Keen
This peachy transition closes the roundup with a hint of warmth. If nude ombre nails feel like beige washes out your skin tone, a peach or coral undertone is presented as the perfect solution. It keeps the natural feel of a nude manicure while adding just enough color to brighten the hand.
Choosing the Right Ombre for Your Nails
Length, contrast, finish, and regrowth should guide your choice. On short nails, use a soft, smaller fade because there is less space for the colors to blend. Keep most of the deeper color near the tip, pick two shades that are fairly close to each other, and consider reverse ombre if you want the darker color near the cuticle.
Colors with a very large difference in depth can be harder to blend. Thick layers may make the fade look uneven, too much polish on the sponge can leave a heavy finish, and skipping the top coat can make colors look dull. Sheer and reverse ombre can be good choices if you want regrowth to be less noticeable.
Save a photo of the exact ombre you like. It is often easier than explaining how soft or strong you want the fade when you visit a nail technician.