Ingredients
60 grams (1/2 cup) whole wheat flour for Day 1 to jumpstart fermentation
60 grams (1/4 cup) warm water for Day 1 to mix with the flour
60 grams (1/2 cup) unbleached all-purpose flour or bread flour for daily feeding on Days 3-7
60 grams (1/4 cup) water for daily feeding on Days 3-7
Instructions
1-Starting your sourdough: Starting your sourdough is like nurturing a little pet it needs regular care but rewards you with amazing results. Begin on Day 1 by mixing your ingredients in the jar. The key is patience and consistency, as the starter will grow over time with daily attention.
2-Day 1: On the first day, combine 60 grams of whole wheat flour and 60 grams of warm water in your jar. Stir it until it’s smooth and thick, then cover it loosely and let it sit in a warm spot around 70-75°F for 24 hours. This initial step gets the fermentation going, setting the stage for the days ahead.
3-Day 2 and Days 3 to 7: By Day 2, check for bubbles to see if things are active. If you don’t see any, just let it rest a bit longer, and give it a stir if you like. From Days 3 to 7, you’ll remove half of the starter each day, then feed it with 60 grams of all-purpose or bread flour and 60 grams of water. Mix well, scrape the sides clean, cover it up, and let it rest again in that warm spot.
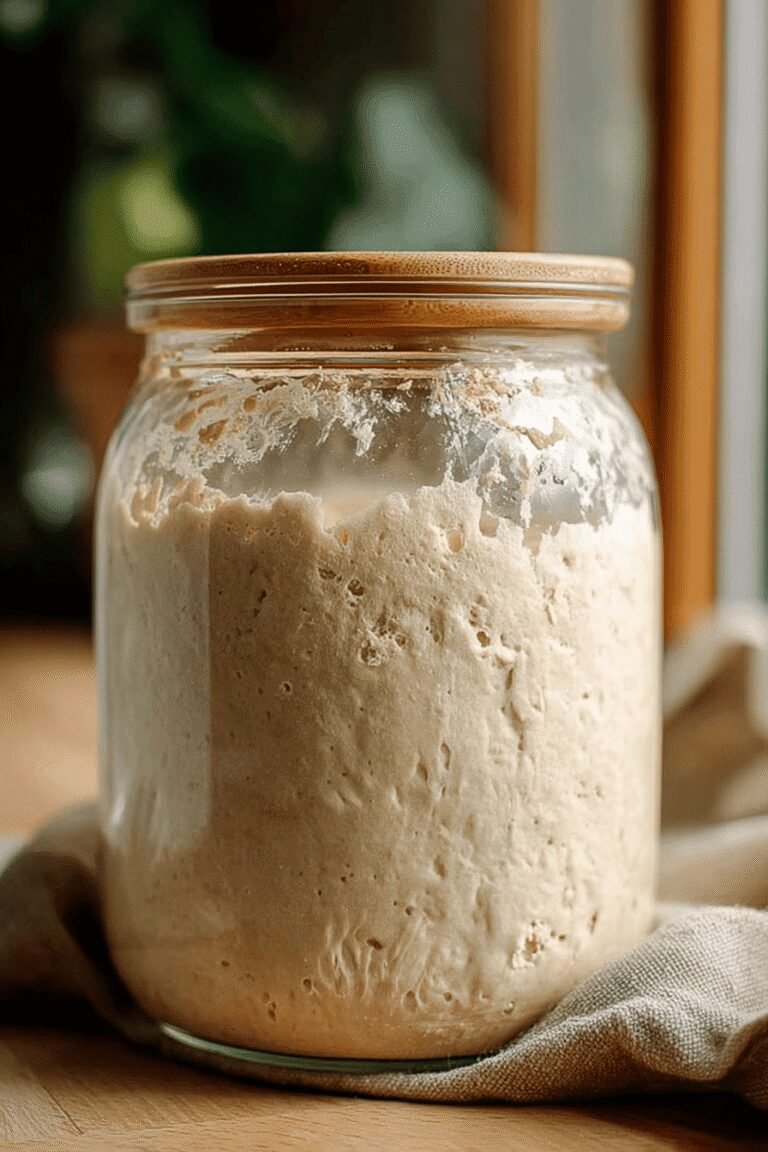
4-Daily Routine and Signs of Progress: As you go through the days, expect your starter to grow in size and get bubblier. By Day 7 or 8, it should double in volume, feel spongy, and smell fresh and pleasant. At that point, move it to a clean jar, give it a name, and it’s ready for baking.
5-Process duration and tips: The whole process takes about 7 days, with just a few minutes of work each day. Keep the temperature steady for the best results, and watch for that bubbly action as a sign of success.
Last Step:
Please leave a rating and comment letting us know how you liked this recipe! This helps our business to thrive and continue providing free, high-quality recipes for you.Notes
💧 Use filtered or chlorine-free water to avoid killing yeast.
🌡 Maintain a consistent temperature of 70-75°F for best fermentation.
⏰ Feed your starter at the same time every day to keep it active and healthy.
🧪 Remove any hooch (dark liquid) before feeding to prevent excessive acidity.
📏 Use a rubber band on the jar to track growth and fermentation progress.
📅 Patience is key; give fermentation at least 7 days, sometimes up to 2 weeks.
⚖️ Feed by weight (equal parts flour and water) for better accuracy.
- Prep Time: Few minutes daily
- Fermentation Time: 7 days or more
- Category: Baking
- Method: Fermentation, Feeding
- Cuisine: International
- Diet: Vegan