Ingredients
– 1 cup (230 grams) sourdough discard (or active starter)
– 1 cup (230 grams) milk
– 1 large egg
– 2 tablespoons (25 grams) sugar
– 1 cup (130 grams) all-purpose flour
– 1/2 teaspoon (2 grams) salt
– 1 teaspoon (5 grams) baking soda
– 3 tablespoons (43 grams) melted butter or oil
Instructions
1-First Step: Gather and Measure Your Ingredients Start by gathering all your ingredients and equipment. You’ll need a medium mixing bowl, a whisk, measuring cups and spoons, and your waffle iron. Having everything ready before you begin makes the process much smoother. Measure out each ingredient precisely. Baking is part science, so accurate measurements matter. If you have a kitchen scale, weighing your ingredients in grams provides the most consistent results. This is especially helpful for the flour and sourdough discard.
2-Second Step: Mix the Wet Ingredients In your medium bowl, whisk together the sourdough discard waffles base ingredients: 1 cup of sourdough discard, 1 cup of milk, and 1 large egg. Whisk until these three ingredients are well combined and relatively smooth. Don’t worry if you see a few small lumps from the discard – these will work themselves out as you continue mixing. The goal at this stage is to break up the starter and incorporate the egg evenly throughout the liquid.
3-Third Step: Add the Dry Ingredients Add the sugar, flour, salt, and baking soda to your wet mixture. Whisk until mostly smooth, but be careful not to overmix. A few small lumps are perfectly fine and actually preferable to an overworked batter. Overmixing develops gluten in the flour, which can lead to tough, rubbery waffles instead of the tender, fluffy texture you’re aiming for.
4-Fourth Step: Incorporate the Fat Stir in the 3 tablespoons of melted butter or oil, whisking until the batter is fully smooth and homogeneous. The fat not only adds flavor but also helps create that desirable crispy exterior when the waffles cook. If your butter solidifies slightly when hitting the cold ingredients, that’s okay. Just keep whisking and it will incorporate as the batter comes together.
5-Fifth Step: Rest the Batter Let the batter rest for 5 minutes while you preheat your waffle iron. This brief resting period allows the baking soda to begin reacting with the acidic sourdough discard, creating tiny air bubbles that make your waffles light and fluffy. You might notice the batter puffing up slightly during this rest – that’s exactly what you want to see! This reaction is similar to what happens in a full overnight ferment, just on a smaller, faster scale.
6-Sixth Step: Preheat and Prepare Your Waffle Iron While the batter rests, preheat your waffle iron according to the manufacturer’s instructions. Most irons have a ready indicator light that tells you when they’ve reached the proper temperature. Once hot, lightly spray the iron with cooking spray if your model requires it. Some nonstick irons don’t need greasing after the first use, so check your specific appliance guidelines.
7-Seventh Step: Cook Your Waffles Pour between 1/4 cup to 1 cup of batter onto your preheated waffle iron, depending on its size. A standard Belgian waffle maker typically takes about 3/4 cup, while mini waffle makers need only 1/4 cup per cavity. Close the lid and cook until the waffles are golden brown and crispy. This usually takes 3-5 minutes, but follow your specific iron’s signals. Most models have a ready light or will stop steaming heavily when the waffle is done.
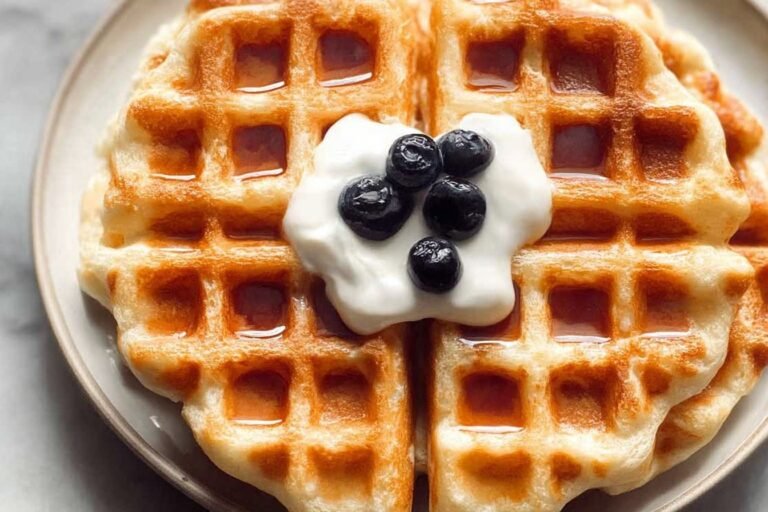
8-Final Step: Serve and Enjoy Carefully remove the cooked waffle from the iron and serve immediately while hot and crispy. Top with maple syrup, fresh fruit, whipped cream, or any of your favorite toppings. Repeat the cooking process with the remaining batter, placing finished waffles on a wire rack if you need to hold them briefly. Avoid stacking them, as this traps steam and makes them soggy. The entire process from start to finish takes about 15 minutes, making these sourdough discard waffles perfect for busy weekend mornings or even a quick weeknight breakfast-for-dinner treat.
Last Step:
Please leave a rating and comment letting us know how you liked this recipe! This helps our business to thrive and continue providing free, high-quality recipes for you.Notes
⏸️ Rest batter 5 minutes for fluffier, tender waffles from better leavening activation.
🔥 Avoid overfilling the iron to prevent overflow and ensure even crispiness.
❄️ Freeze cooked waffles with parchment separators; reheat in toaster for fresh crispiness.
- Prep Time: 10 minutes
- Resting Time: 5 minutes
- Cook Time: 5 minutes
- Category: Breakfast
- Method: Waffle Iron
- Cuisine: American
- Diet: Vegetarian
Nutrition
- Serving Size: 1-2 waffles
- Calories: 280 kcal
- Sugar: 6g
- Sodium: 500mg
- Fat: 12g
- Saturated Fat: 6g
- Unsaturated Fat: 5g
- Trans Fat: 0g
- Carbohydrates: 35g
- Fiber: 1g
- Protein: 7g
- Cholesterol: 60mg