Ingredients
Pie crust for forming the flaky, golden exterior
4 cups chopped rhubarb for providing bright, tangy flavor and natural moisture
1 1/3 cups granulated sugar for sweetening the tart rhubarb pie filling
6 tablespoons all-purpose flour for acting as the thickener in the rhubarb pie filling
Instructions
1-First Step: Preheat your oven to 450°F and position the rack in the lowest spot. This high start crisps the bottom crust, key for how to prevent soggy rhubarb pie crust. Line a baking sheet with parchment too, as juices might spill. If vegan, ensure your crust ingredients align now.
2-Second Step: In a bowl, combine 6 tablespoons all-purpose flour with 1 1/3 cups granulated sugar. Stir well; this dry mix thickens the rhubarb pie filling perfectly. For gluten-free, swap in your blend here. It prevents a runny pie, especially with frozen rhubarb.
3-Third Step: Roll out half the pie crust dough and fit it into a 9-inch pie plate. No need to pre-bake for this classic rhubarb pie, but chill it in the fridge while you roll the top crust. This keeps the rhubarb pie crust flaky. Brush with a beaten egg white for extra moisture barrier if desired.
4-Fourth Step: Sprinkle one-third of the flour-sugar mixture over the chilled bottom crust. Add 4 cups chopped rhubarb evenly. Scatter the remaining flour-sugar over the fruit. For strawberry rhubarb pie recipe, mix in 2 cups sliced strawberries now. Pat down gently for even distribution.
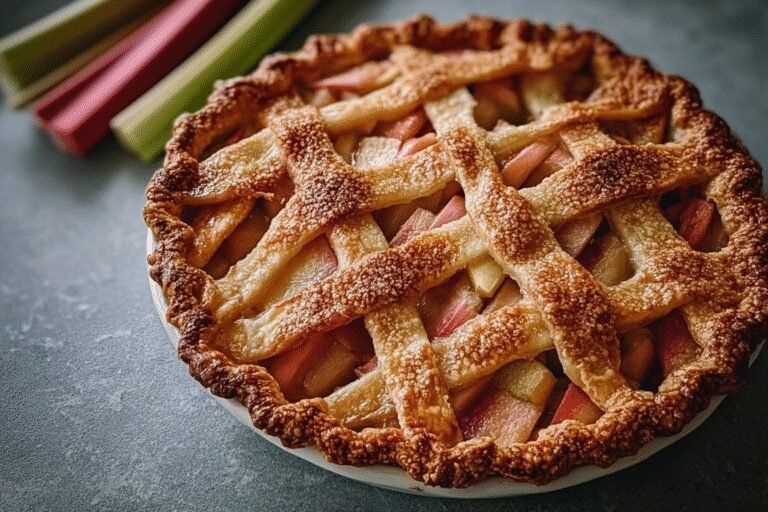
5-Fifth Step: Roll out the top crust, lay it over the filling, trim edges to 1/2-inch overhang, and crimp together. Cut 4-5 slits in the top for steam escape, or weave a lattice for a rhubarb pie with lattice crust recipe look. This lets juices bubble up beautifully.
6-Sixth Step: Place the pie on the prepared baking sheet. Bake at 450°F for 15 minutes to set the crust. Reduce to 350°F and bake 40-45 more minutes until golden and bubbling. Check halfway; cover edges with foil if browning fast. For frozen rhubarb pie recipe, don’t thaw, add 10-15 extra minutes.
7-Final Step: Cool the pie on a wire rack for at least 2-3 hours; this sets the rhubarb pie filling. Slice into 8 wedges. Serve warm with ice cream after your BBQ brisket. Stores well, as we’ll cover later. Total success for home cooks and baking enthusiasts alike.
Last Step:
Please leave a rating and comment letting us know how you liked this recipe! This helps our business to thrive and continue providing free, high-quality recipes for you.Notes
🥧 Bake on the lowest oven rack to help crisp the bottom crust and prevent a soggy bottom
🌿 Use a baking sheet under the pie to catch any spills and protect your oven from bubbling juices
⏰ Check halfway through baking; cover edges with foil or a pie shield if they brown too quickly to prevent burning
- Prep Time: 20 minutes
- Cooling time: 1 hour
- Cook Time: 1 hour
- Category: Dessert
- Method: Baking
- Cuisine: American
- Diet: Vegetarian
Nutrition
- Serving Size: 1 slice
- Calories: 259
- Sugar: 34
- Sodium: 90
- Fat: 6
- Saturated Fat: 2
- Unsaturated Fat: 4
- Trans Fat: 0
- Carbohydrates: 51
- Fiber: 2
- Protein: 2
- Cholesterol: 0