Ingredients
– 1 cup oats for structure and a hearty texture
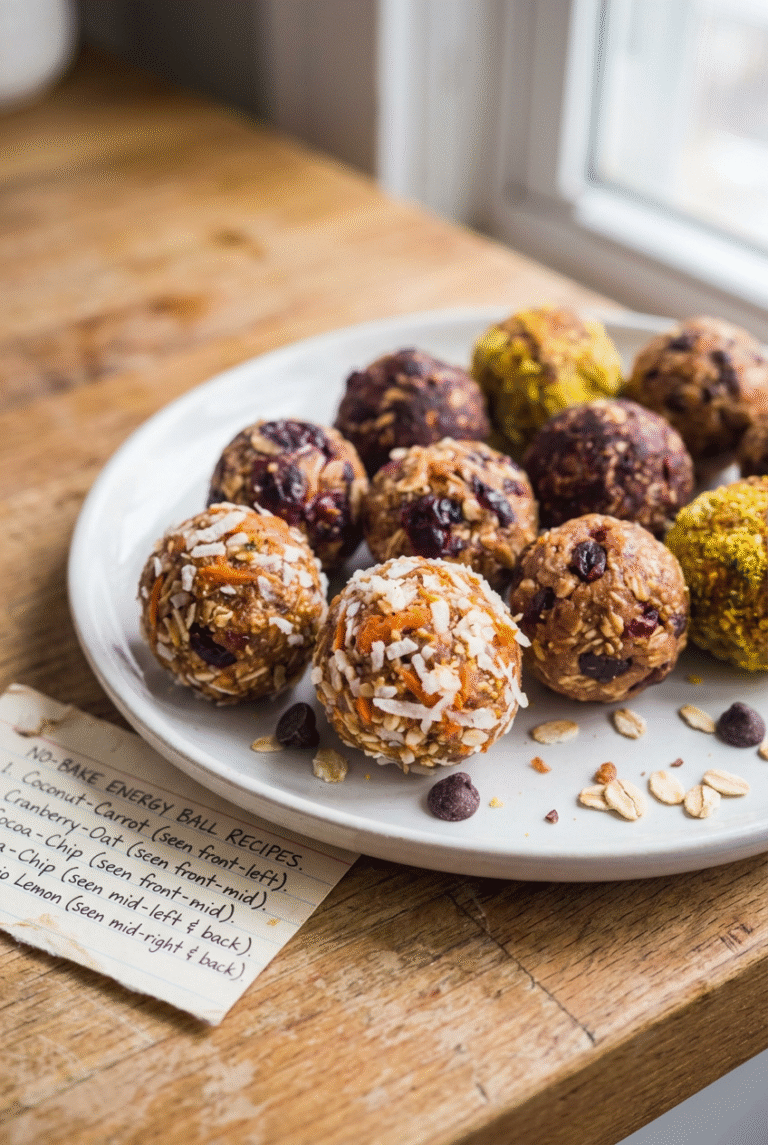
– 2/3 cup toasted coconut, sweetened or unsweetened for flavor, chew, and a light tropical note
– 1/2 cup peanut butter for binding and richness
– 1/2 cup ground flaxseed or chia seeds for fiber and binding
– 1/2 cup chocolate chips or mini semisweet chips for sweetness and treat feel
– 1/3 cup honey for sweetening and binding
– 1 tablespoon chia seeds, optional for extra texture and nutrition
– 1 teaspoon vanilla extract for rounding out the flavor
Instructions
1-First step: Gather and measure everything Start by setting out all the ingredients before you mix. Measure 1 cup oats, 2/3 cup toasted coconut, 1/2 cup peanut butter, 1/2 cup ground flaxseed or chia seeds, 1/2 cup chocolate chips or mini semisweet chips, 1/3 cup honey, 1 tablespoon chia seeds if using, and 1 teaspoon vanilla extract. Having everything ready makes the process smoother and helps the mixture come together evenly. Use a medium mixing bowl so you have room to stir without spilling. If your peanut butter is thick, let it sit at room temperature for a few minutes before you begin. That small step makes mixing much easier.
2-Second step: Stir until combined Add all the ingredients to the bowl. Stir with a sturdy spoon or spatula until the mixture looks evenly mixed and sticky. The oats and seeds should be coated well, and the chocolate chips should be spread throughout the dough. If the mixture seems dry or crumbly, add a little more peanut butter, one spoonful at a time. If it feels too sticky, add a small handful of oats. The goal is a mix that holds together when pressed.
3-Third step: Chill the mixture Place the bowl in the refrigerator for 1 to 2 hours. This chilling time helps the oats soften slightly and gives the mixture a firmer texture. That makes rolling much easier and helps the balls keep their shape. If you are short on time, spread the mixture on a baking sheet and freeze it for 20 to 30 minutes. This trick works well when you want a faster turnaround, especially for meal prep days or after-school snack prep.
4-Fourth step: Roll into 1-inch balls Once the mixture is chilled, scoop out small portions and roll them into 1-inch balls. Clean hands work fine, but slightly damp hands can make the job less sticky. If the mixture starts sticking to your palms, rinse your hands and continue. Try to keep the balls similar in size so they chill and store evenly. A small cookie scoop can help with portioning if you want a more uniform look. This is also a fun step for kids who like helping in the kitchen.
5-Fifth step: Serve or store You can serve the No-Bake Energy Balls right away once they are shaped. For a firmer texture, chill them for another 15 to 20 minutes before serving. They taste great cold and work well in lunchboxes, snack bags, or a small bowl on the counter during busy afternoons. Store them in a sealed container in the refrigerator for up to 1 week. For longer storage, freeze them for up to 3 months. If freezing, place them in a single layer first so they do not stick together, then move them to a freezer-safe bag or container.
Last Step:
Please leave a rating and comment letting us know how you liked this recipe! This helps our business to thrive and continue providing free, high-quality recipes for you.Notes
🌴 Toast the coconut flakes lightly beforehand to boost flavor and aroma.
🥜 If the mixture isn’t holding together, stir in more peanut butter a tablespoon at a time.
📦 For variety, press into a dish to make energy bars instead of balls after chilling.
- Prep Time: 20 minutes
- Chill Time: 1-2 hours
- Cook Time: 0 minutes
- Category: Snacks
- Method: No Bake
- Cuisine: American
- Diet: Vegetarian, High-Fiber, Vegan-Adaptable
Nutrition
- Serving Size: 1 bite
- Calories: 130
- Sugar: 6g
- Sodium: 50mg
- Fat: 8g
- Saturated Fat: 2g
- Unsaturated Fat: 5g
- Trans Fat: 0g
- Carbohydrates: 13g
- Fiber: 3g
- Protein: 4g
- Cholesterol: 0mg