Ingredients
– ½ cup softened butter – Provides moisture, richness, and helps create the cookie’s structure
– ½ cup brown sugar – Adds moisture and creates a chewier texture with deeper molasses notes
– ¼ cup white sugar – Contributes to crispness and spread while balancing sweetness
– 1 egg – Acts as a binder and provides structure and richness to the cookie
– 1 tsp vanilla – Enhances all other flavors and adds aromatic depth
– 1 cup flour – Forms the main structure and body of the cookie
– ½ tsp baking soda – Leavens the cookie for proper rise and spread
– ¼ tsp salt – Balances sweetness and enhances chocolate flavor
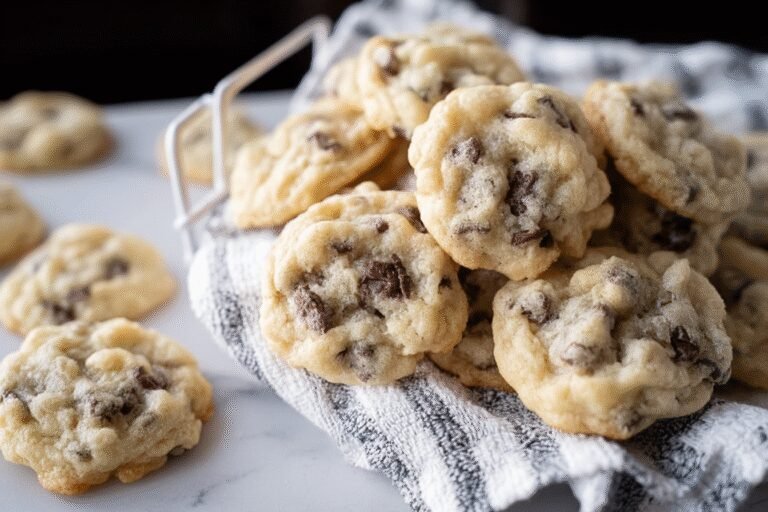
– ½ cup mini chocolate chips – Provides chocolate flavor in every bite with better distribution
Instructions
1-First Step: Preparation and Mise en Place Start by preheating your oven to 350°F (175°C) to ensure it’s at the perfect temperature when your cookies go in. While the oven heats, line your baking sheets with parchment paper or silicone baking mats. This prevents sticking and makes cleanup effortless. If you’re using a mini muffin tin for uniform cookie bites, lightly grease the cups or use paper liners. Gather all your ingredients and measuring tools, ensuring everything is at room temperature particularly the butter and egg which helps them incorporate smoothly for even-textured dough.
2-Second Step: Creaming Butter and Sugars In a medium mixing bowl, combine the softened butter, brown sugar, and white sugar. Using an electric mixer on medium speed or a sturdy wooden spoon, cream these ingredients together until the mixture becomes light and fluffy, typically 2-3 minutes. This process creates air pockets in the butter, which helps the cookies rise properly during baking. The mixture should appear paler in color and have a creamy texture when ready. For those adapting this recipe for dietary needs, ensure your vegan butter is softened but not melted, and if using applesauce or other butter substitutes, mix just until combined rather than attempting to create fluffiness.
3-Third Step: Adding Wet Ingredients Beat in the egg (or flax egg for vegan versions) and vanilla extract until fully incorporated. The mixture should become smooth and glossy. This step typically takes 1-2 minutes with an electric mixer or 3-4 minutes by hand. Make sure to scrape down the sides of the bowl periodically to ensure even distribution of all ingredients. For variations, this is when you could add a pinch of cinnamon, a drop of almond extract, or other flavor enhancers to customize your homemade cookies to your taste preferences.
4-Fourth Step: Incorporating Dry Ingredients In a separate small bowl, whisk together the flour, baking soda, and salt. This ensures these ingredients are evenly distributed before adding to the wet mixture. Gradually add the dry ingredients to the butter mixture, mixing on low speed or by hand just until combined. Overmixing at this stage can lead to tough cookies, so stop as soon as you no longer see streaks of flour. For those using gluten-free flour blends, pay special attention to the recommended mixing time, as some blends require more careful handling to prevent gummy textures.
5-Fifth Step: Adding Chocolate Chips Fold in the mini chocolate chips using a spatula or wooden spoon. The mini chips distribute more evenly throughout the dough, ensuring every bite-sized cookie contains plenty of chocolate. For added variety, consider mixing in chopped nuts, dried fruit, or a combination of different chocolate varieties. If you only have regular chocolate chips on hand, you can use them, but as noted in our helpful guide on mini chocolate chip cookies, they may not distribute as evenly in the smaller dough portions.
6-Final Step: Baking and Cooling Scoop teaspoon-sized balls of dough onto your prepared baking sheets, spacing them about 1 inch apart. If using a mini muffin tin, fill each cup about ¾ full with dough. Bake for 8-10 minutes for sheet cookies or 10-12 minutes for muffin tin versions, until edges are lightly golden but centers still appear slightly underbaked. They will continue to set as they cool. Allow the cookies to cool on the baking sheet for 2-3 minutes before transferring to a wire rack to cool completely. This step is crucial moving them too soon can cause them to break, while leaving them too long makes them difficult to remove. For perfectly portioned treats every time, consider using a small cookie scoop or measuring spoon to ensure uniform size.
Last Step:
Please leave a rating and comment letting us know how you liked this recipe! This helps our business to thrive and continue providing free, high-quality recipes for you.Notes
🍪 Use mini chocolate chips to ensure even chocolate in every bite.
⏰ Chill dough 15 minutes for thicker, chewier bites.
📦 Store in an airtight container at room temperature for up to 5 days.
- Prep Time: 15 minutes
- Chill Time: 15 minutes
- Cook Time: 10 minutes
- Category: Dessert
- Method: Baking
- Cuisine: American
- Diet: Vegetarian
Nutrition
- Serving Size: 1 bite
- Calories: 80
- Sugar: 7g
- Sodium: 70mg
- Fat: 4.5g
- Saturated Fat: 2.5g
- Unsaturated Fat: 1.5g
- Trans Fat: 0g
- Carbohydrates: 10g
- Fiber: 0.5g
- Protein: 1g
- Cholesterol: 15mg