

Matcha Checkerboard Cookies
Matcha checkerboard cookies are soft, buttery cookies with a stunning vanilla and matcha checkerboard pattern baked right into the dough.
You’ll love this because the design looks like something from a fancy bakery case, but the technique is easier than it looks once you learn it.

This recipe makes 26 cookies, with about 1 hour 10 minutes of prep, 1 hour 30 minutes of chilling, and 12 minutes of baking, for a total time of 2 hours 52 minutes.

Jump To
Notes from the baker
I’ll be honest with you. The first time I saw checkerboard cookies, I assumed they were way out of my league. All those perfect little squares?
I figured you needed some kind of pastry school training to pull that off. Then I actually made them, and something clicked. The whole thing is just stacking and flipping strips of dough.
That is it. Once the method made sense in my head, I wondered why I had been intimidated for so long.
Now these are on my repeat list, especially around the holidays. They look intricate sitting on a platter, and guests always assume you spent all day on them. You did not, and that is the fun part.
The texture is what really wins people over, though. It is a proper butter cookie, soft in the middle with that crumbly, sandy snap at the edge that classic icebox cookies are known for.
The matcha flavor here is pleasant and gentle rather than bitter, so even if you are new to green tea desserts, these go down easy. The vanilla half of the cookie keeps things familiar. Together, the two flavors balance each other beautifully.
My advice is to bake these once for fun, then bake them again for your holiday cookie boxes, because they hold up wonderfully and look gorgeous next to anything else you tuck in there.
Key takeaway: the checkerboard technique only seems confusing before you try it. Stack, chill, slice, and repeat. That is the whole secret.
Why you’ll love this recipe
You’ll love this because it checks so many boxes at once. Rich, buttery cookies with a soft yet crumbly, sandy crisp texture? Yes. A checkerboard pattern that looks genuinely bakery quality? Also yes. Two flavors, vanilla and matcha, living together in a single bite? That is the kind of detail that makes people ask for the recipe.
Here is what makes these cookies such a joy to bake:

- Only 7 ingredients. Everything except the matcha is a common pantry staple, so you can usually start baking without a shopping trip.
- Two flavors in one cookie. The vanilla dough and matcha dough are baked side by side, so each bite gives you both.
- Make ahead friendly. The dough freezes well, which means you can prep a batch whenever you have time and bake fresh cookies on demand later.
- Travel and storage champs. The finished cookies stay stable at room temperature for days, keeping their taste, texture, and intact design. That makes them ideal for cookie boxes and care packages.
- The pattern is permanent. The checkerboard design is baked right into the cookie, so it will not smear, fade, or get disturbed by frosting or handling.
- Easier than it looks. The striking pattern reads as complicated, but the method is simple stacking and slicing once you understand it.
Since these are essentially butter cookies, the flavor of your butter matters a lot. Good butter makes this recipe shine. And because there is no frosting or decoration on top, there is nothing to melt, wilt, or smudge, which is exactly why these are such reliable gifts.
Tools
The good news is that you do not need any special equipment for this recipe. Everything is standard home kitchen gear, and a couple of items are purely optional conveniences.
- Electric hand mixer: Helpful for beating softened butter until creamy, but not essential. A sturdy wooden spoon and some patience will do the job if that is what you have.
- Rolling pin: A rolling pin that is flat all the way across works better here than a French style tapered pin, because you want even, flat sheets of dough with uniform thickness. Even thickness matters when you are stacking strips later.
- Bench scraper (optional): A bench scraper, or even a knife, is great for squaring off the dough edges and keeping your rectangles neat and straight. Neater dough means a cleaner checkerboard.
- Pastry brush: You will use this to brush a thin layer of egg white onto the dough pieces. The egg white acts as glue that holds the layers and strips together during assembly.
- Baking sheet: Any standard baking sheet works. You will line it with parchment paper for baking.
If you own parchment paper and a sharp knife, you are most of the way there already. This is one of those impressive looking recipes that asks for very little from your equipment drawer.
Ingredient notes
These cookies use simple ingredients, and the quality of each one shows in the final bite. Here is the full list for the cookie dough:
- 300 g all purpose flour
- ½ teaspoon salt
- 230 g unsalted butter, softened to room temperature
- 100 g granulated sugar
- 1 large egg yolk
- 1 tablespoon vanilla extract
- 1 tablespoon ceremonial grade matcha powder
For assembling the checkerboard, you will also need 1 large egg white.
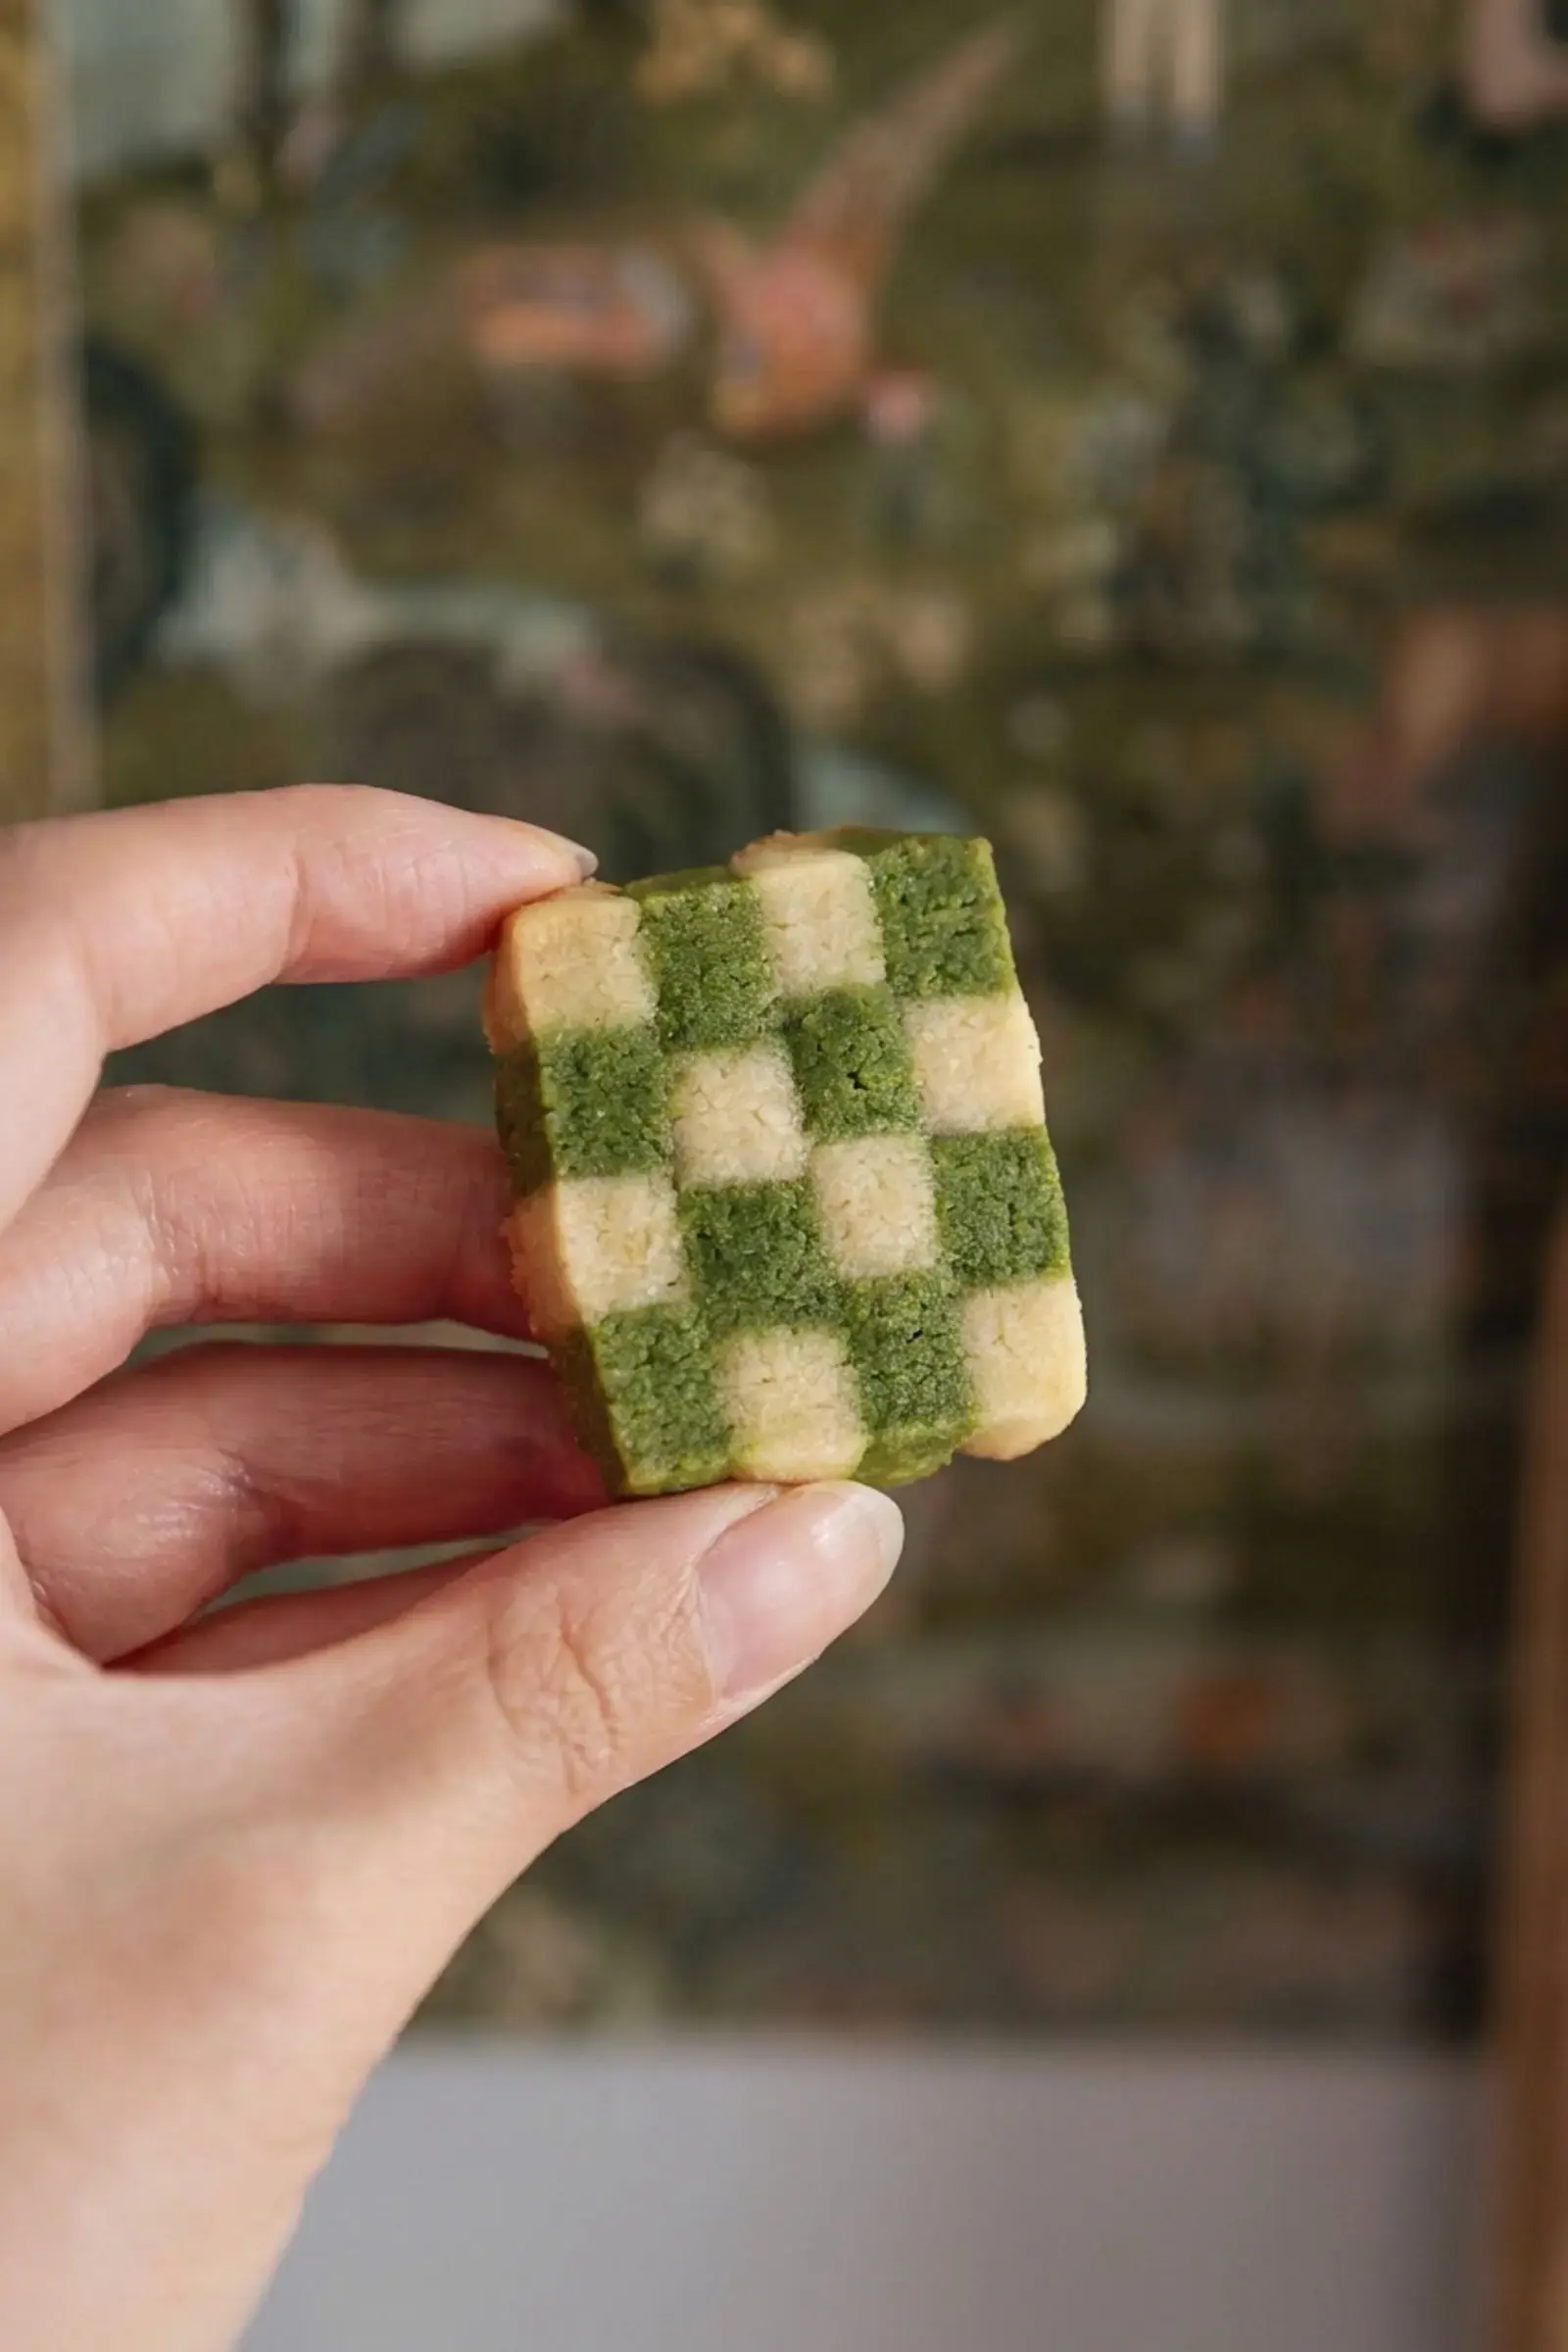
A few notes on the key players:
- Unsalted butter: It must be softened to room temperature so it creams properly with the sugar. Since these are essentially butter cookies, I recommend using good quality butter. It is the star flavor here, so this is not the place for the bargain tub.
- One egg, two jobs: You will separate the egg. The yolk goes into the dough for richness, and the egg white becomes the glue that bonds the dough layers and strips during assembly. Nothing goes to waste.
- Ceremonial grade matcha: This is the one ingredient worth seeking out. High quality ceremonial grade matcha gives you the best flavor and that vibrant green color that makes the checkerboard pop. Lower quality matcha can taste dull and look olive toned.
- Gram measurements: Weighing ingredients like flour, butter, and sugar gives you much more accurate results than measuring by volume. Small amounts such as the salt and matcha are listed in teaspoons and tablespoons because most kitchen scales are not accurate under about 10 grams.
How to make Matcha Checkerboard Cookies
Here is the full method, step by step:
- In a medium bowl, stir together the flour and salt. Set aside.
- In a large mixing bowl, use an electric hand mixer to beat the softened butter until very creamy. Add the granulated sugar and beat until creamy and fluffy. Add the egg yolk and vanilla extract and beat again on low speed until combined.
- Add the flour mixture to the butter mixture and beat on low speed until just barely combined, with some flour patches still remaining.
- Divide the dough in half and transfer one half to a separate bowl. Finish mixing one portion just until there are no more flour patches. This is your plain vanilla dough. Set it aside.
- To the other dough, sift in the matcha powder. Mix on low speed with the hand mixer until the matcha is evenly distributed throughout.
- On the counter, lay down a sheet of parchment paper. Turn the matcha dough out onto it, press it into a rectangular shape by hand, and use a bench scraper or straight edge to square off the sides.
- Lay another sheet of parchment on top and roll the dough to about ¼ inch thick, keeping it in a rectangle. Straighten the sides occasionally with the bench scraper.
- Repeat the previous two steps with the plain dough on separate parchment, making both sheets roughly the same size and shape. Chill both sheets in the fridge for at least 1 hour, or until firm.
- Once chilled, peel one dough sheet off the parchment and lay it directly on top of the other sheet.
- Cut the stack in half widthwise. Brush the top of one half with a thin layer of egg white, then place the other half on top so the colors alternate. Return the stack to the fridge for 15 minutes.
- Cut strips of dough about ¼ inch thick. Each long strip should show 4 alternating color stripes, and you should end up with 12 strips total.
- Place one strip flat, brush with egg white, and set another strip on top flipped over so its colors run opposite to the strip below. Gently press to seal. Keep stacking to build 3 blocks of 4 strips each, flipping and gluing each layer. Chill the blocks for another 15 minutes.
- Preheat the oven to 350°F. Line a baking sheet with parchment paper.
- Slice each block into ¼ inch thick cookies and place them on the baking sheet about ½ inch apart. They will not spread much, so they can sit fairly close together.
- Bake for 12 to 15 minutes, until the bottom edges of the cookies start to lightly brown.
- Let the cookies cool on the baking sheet for about 5 minutes, then transfer them to a wire rack to cool completely.
Each cookie comes out to about 126 calories, with 13 g carbohydrates, 2 g protein, 7 g fat, 5 g saturated fat, 4 g sugar, 0.3 g fiber, 48 mg sodium, and 26 mg cholesterol per cookie, based on the source nutrition information.
Baker’s tip: do not skip the chilling steps. Cold dough holds crisp, clean edges, and clean edges are what make the checkerboard pattern look sharp after baking.
Storage
These cookies keep beautifully, which is part of why they are such a great holiday bake. Store them in an airtight container at room temperature for up to 5 days, and they will hold their taste, texture, and pattern the whole time.
For longer storage, freeze the cookies in an airtight container or freezer bag for up to 1 month. When you are ready to enjoy them, thaw the frozen cookies at room temperature before serving.
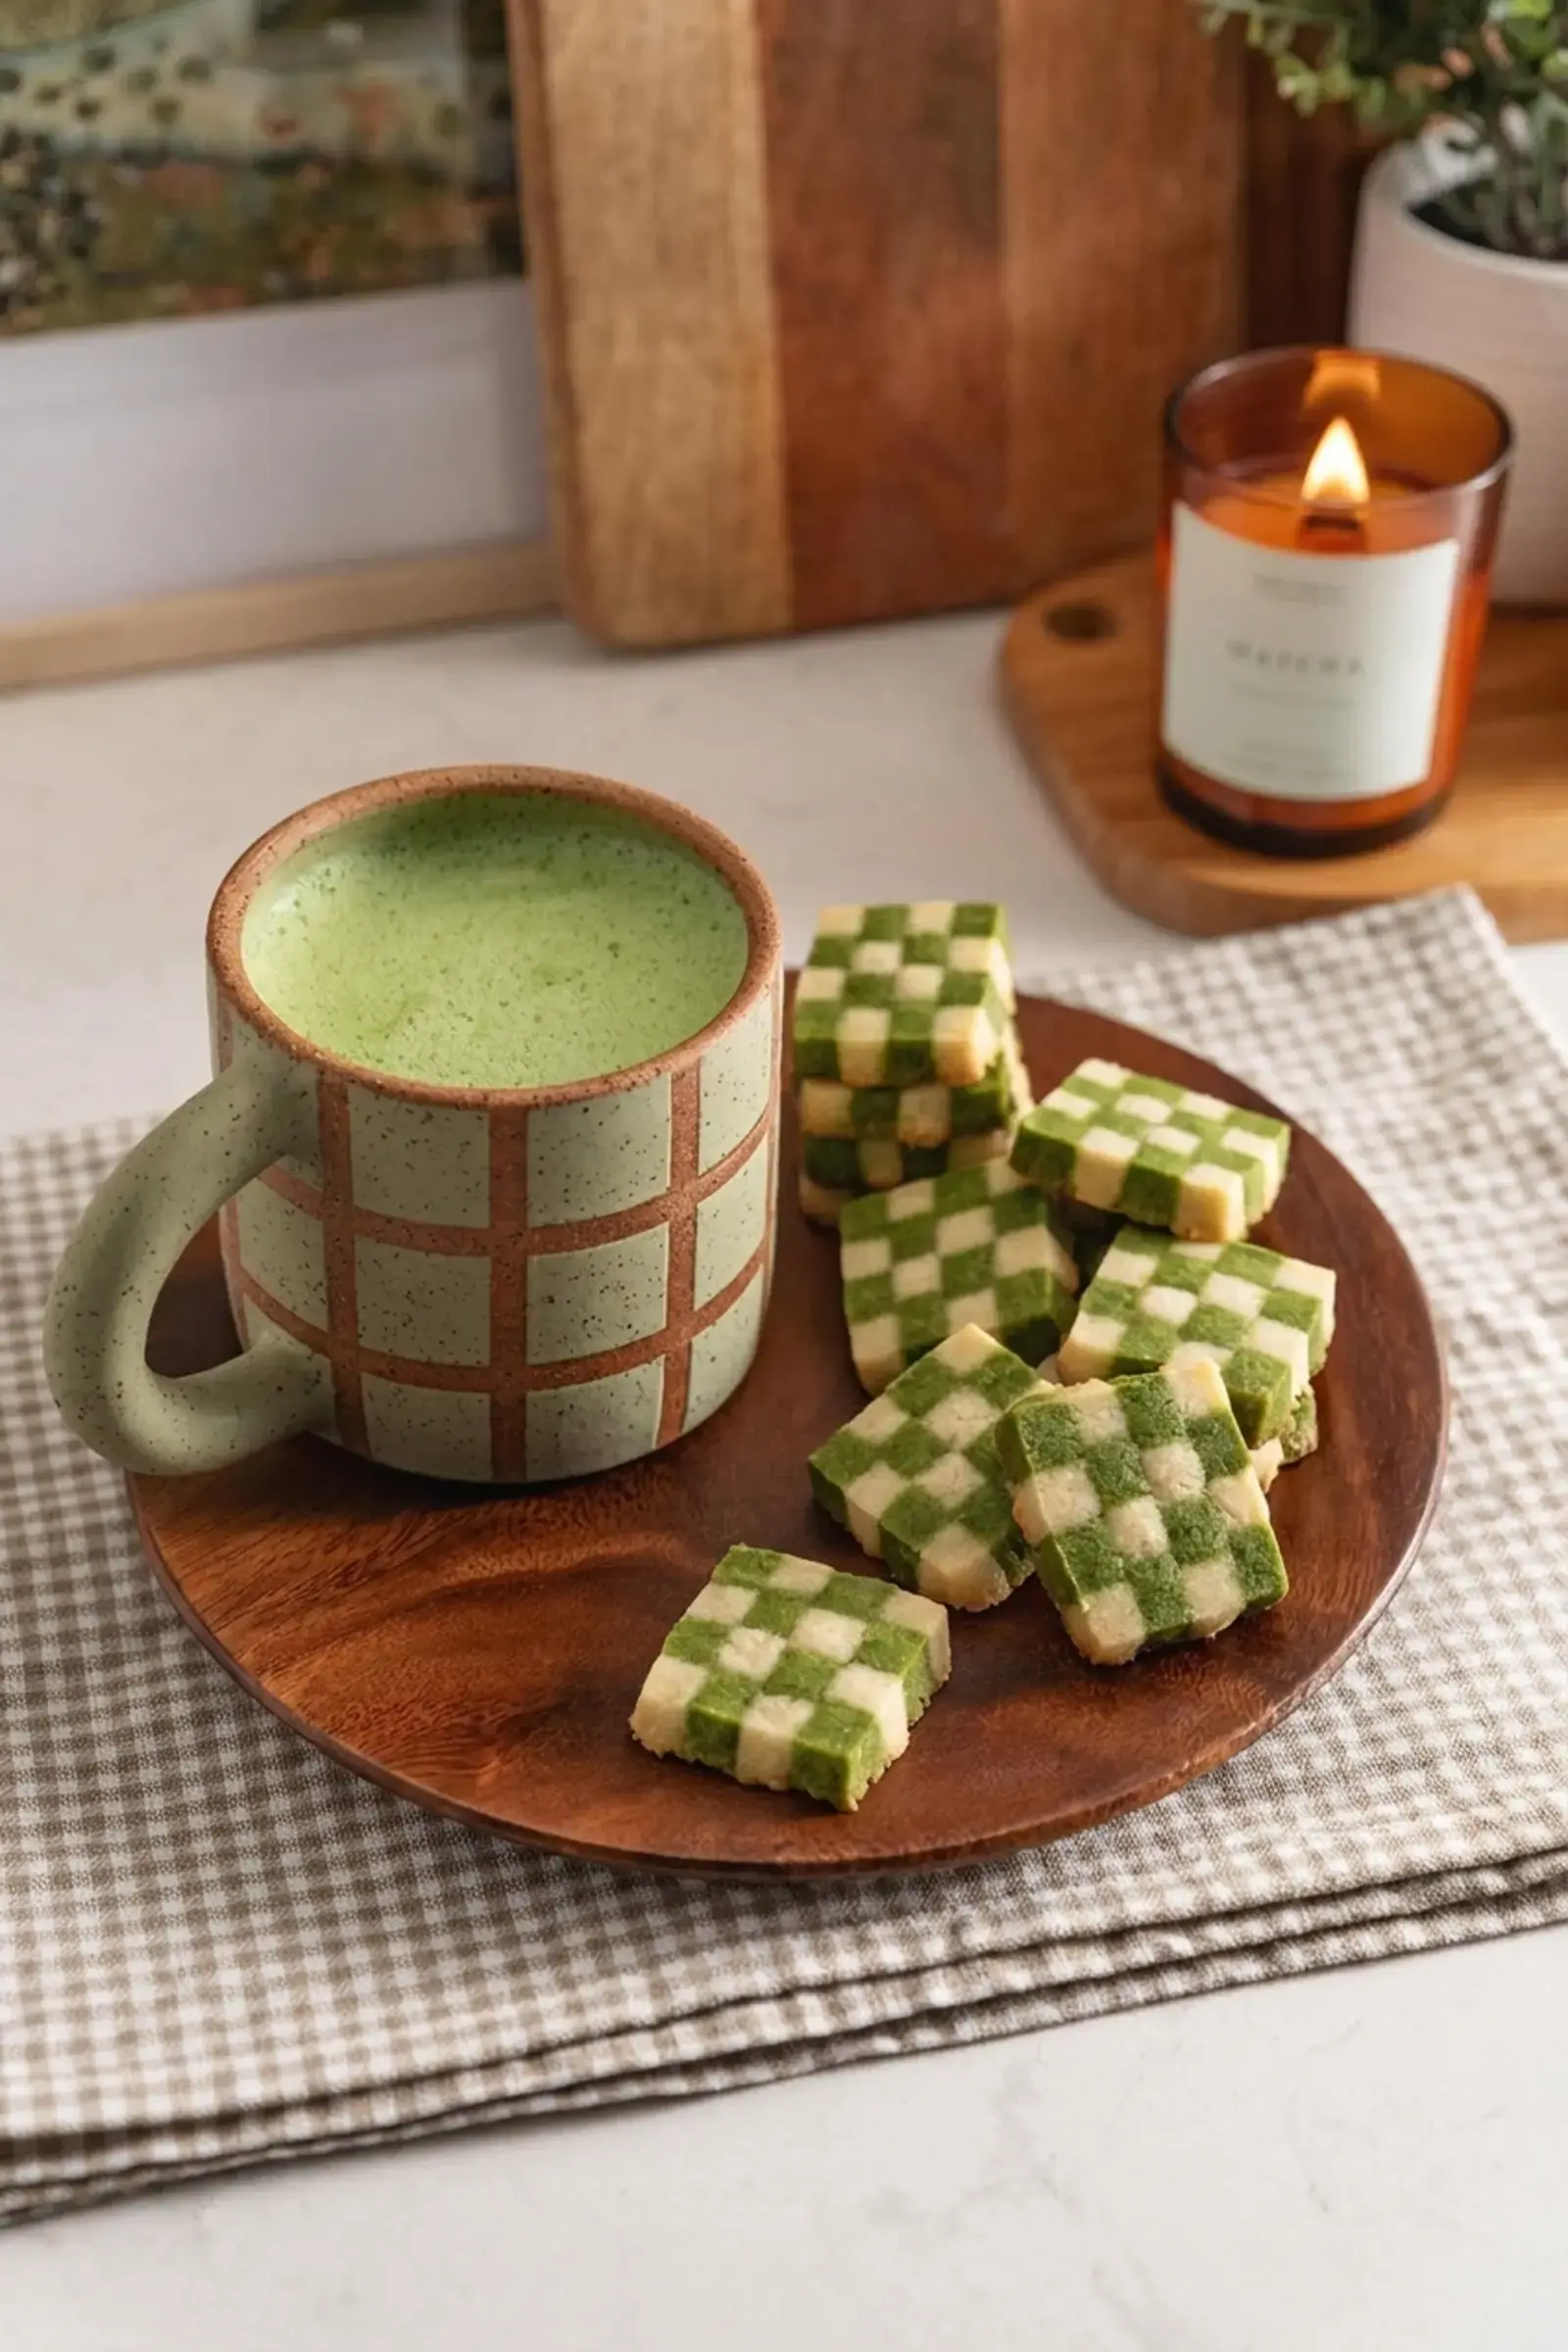
I like to freeze a portion of every batch precisely so there is always a hidden stash for last minute guests or gifting.
More Cookies
If you loved baking these, there is plenty more cookie inspiration waiting for you on the blog. Try these reader favorites next:
Each one uses the same straightforward, home baker friendly approach you will find in this recipe, so you can keep building your cookie box with confidence.
FAQs
How do you make a checkerboard pattern on cookies?
To make a checkerboard pattern, roll both the matcha and vanilla doughs into 1/4-inch thick rectangles and chill for at least 1 hour. Stack them, cut the stack in half, and reassemble the halves with alternating colors using whisked egg white as glue. After chilling, cut 1/4-inch strips and stack four strips together, flipping each alternating strip and brushing with egg white between layers. Slice the final blocks into 1/4-inch cookies and bake at 350°F for 12 minutes.
What is the best matcha powder for baking cookies?
Ceremonial-grade matcha is the best choice for baking these cookies because it gives a vibrant green color and a smooth, slightly sweet flavor with minimal bitterness. Culinary-grade matcha can appear dull green or brownish after baking and may taste more astringent. The recipe calls for 1 tablespoon of ceremonial-grade matcha powder to achieve the best visual and taste results.
Why use egg white to assemble checkerboard cookies?
Egg white acts as an edible glue because its protein content forms a strong seal when brushed between dough layers, preventing the stacked strips from separating during slicing and baking. It provides stronger adhesion than water or milk without adding moisture that could soften the dough. The recipe uses 1 large egg white for assembling all the layers.
Can you freeze matcha checkerboard cookie dough?
Yes, matcha checkerboard cookie dough freezes beautifully for up to 1 month, making it perfect for make-ahead baking. You can freeze both the assembled dough blocks before slicing and the baked cookies themselves. To use, thaw the unbaked dough blocks in the refrigerator before slicing and baking as directed.

Matcha Checkerboard Cookies
Matcha Checkerboard Cookies Matcha checkerboard cookies are soft, buttery cookies with a stunning vanilla and matcha checkerboard pattern baked right into the dough. You’ll love this because the design looks like something from a fancy bakery case, but the technique is easier than it looks once you learn it.
- Total Time: 172 min
- Yield: 26 cookies 1x
Ingredients
Cookies
300 g all-purpose flour
½ teaspoon salt
230 g unsalted butter, softened to room temperature
100 g granulated sugar
1 large egg yolk
1 tablespoon vanilla extract
1 tablespoon matcha powder, ceremonial-grade
For assembling
1 large egg white
Instructions
1-In a medium bowl, stir together the: In a medium bowl, stir together the flour and salt. Set aside.
2-In a large mixing bowl, use an: In a large mixing bowl, use an electric hand mixer to beat the softened butter until very creamy. Add the granulated sugar and beat until creamy and fluffy. Add the egg yolk and vanilla extract and beat again on low speed until combined.
3-Add the flour mixture to the butter: Add the flour mixture to the butter mixture and beat on low speed until just barely combined with some flour patches still remaining.
4-Divide the dough in half and transfer: Divide the dough in half and transfer one half to a separate mixing bowl (use the bowl you used for the flour mixture). Finish mixing the dough in one of the bowls just until there are no more flour patches. This will be your plain/vanilla dough. Set aside.
5-To the other dough, sift in matcha: To the other dough, sift in matcha powder. Use the hand mixer to mix on low speed until the matcha is evenly distributed throughout the dough.
6-On your kitchen counter, lay down a: On your kitchen counter, lay down a sheet of parchment paper. Turn out the matcha dough onto the parchment paper. Use your hands to press it into a rectangular shape. Use a bench scraper or something with a straight edge to square off the sides of the rectangle as best you can.
7-Lay another sheet of parchment paper on: Lay another sheet of parchment paper on top. Use a rolling pin to roll the dough out to about ¼” thick, keeping it in a rectangle shape as best you can. Occasionally, use a bench scraper to straighten the sides.
8-On a separate sheet of parchment paper,: On a separate sheet of parchment paper, repeat the previous two steps with the plain dough, making both sheets of dough roughly the same size and shape. Transfer both sheets of dough to the fridge to chill for at least 1 hour or until firm.
9-Once chilled, peel one sheet of dough: Once chilled, peel one sheet of dough off the parchment paper and lay it directly on top of the other sheet of dough.
10-Use a knife to cut the stack: Use a knife to cut the stack of dough in half widthwise. Use a pastry brush to brush the top of one half with a thin layer of egg white. Pick up the other half of dough and lay it on top of the egg white layer so that the colours of dough are alternating. Pop this back in the fridge for 15 minutes to firm up again.
11-Use a sharp knife to cut strips: Use a sharp knife to cut strips of dough that are about ¼” thick. Each long strip should have 4 stripes of alternating colours and you should end up with 12 strips.
12-Place one strip flat on your surface: Place one strip flat on your surface. Brush the top with a thin layer of egg white. Take another strip and flip it over so that the colours are the opposite of the ones below it. Place the strip down on top of the first strip, lining it up down the length of the strip, and gently press it down to seal together. Repeat until you have a stack of 4 strips. Repeat with the remaining strips. You should end up with 3 “blocks” with 4 strips each. Chill the blocks in the fridge for another 15 minutes to firm up again.
13-Preheat the oven to 350°F: Preheat the oven to 350°F. Line a baking sheet with parchment paper. Set aside.
14-Use a sharp knife to slice each: Use a sharp knife to slice each block into ¼” thick cookies. Place the cookies on your lined baking sheet, leaving about ½” in between each cookie. They won’t spread much so they can be fairly close together.
15-Bake cookies for 12-15 minutes or until: Bake cookies for 12-15 minutes or until the bottom edges of the cookies start to lightly brown.
16-Let the cookies cool on the baking: Let the cookies cool on the baking sheet for about 5 minutes before transferring them to a wire rack to cool completely.
Last Step:
Please leave a rating and comment letting us know how you liked this recipe! This helps our business to thrive and continue providing free, high-quality recipes for you.- Prep Time: 70 min
- Cook Time: 12 min
- Method: bake
Nutrition
- Calories: 126
- Sugar: 4g
- Sodium: 48mg
- Fat: 7g
- Saturated Fat: 5g
- Carbohydrates: 13g
- Fiber: 0.3g
- Protein: 2g
- Cholesterol: 26mg


