

Maple Cookies with Maple Icing
The first time I pulled a tray of these maple cookies from the oven, the kitchen filled with that unmistakable warm, buttery maple aroma, and suddenly I was back at my grandmother’s kitchen table on a chilly autumn afternoon.
She had a way of making everything feel like a celebration with just a few simple ingredients and a wooden spoon. That memory is exactly why this recipe has become a staple in my own home, especially once the leaves start turning.
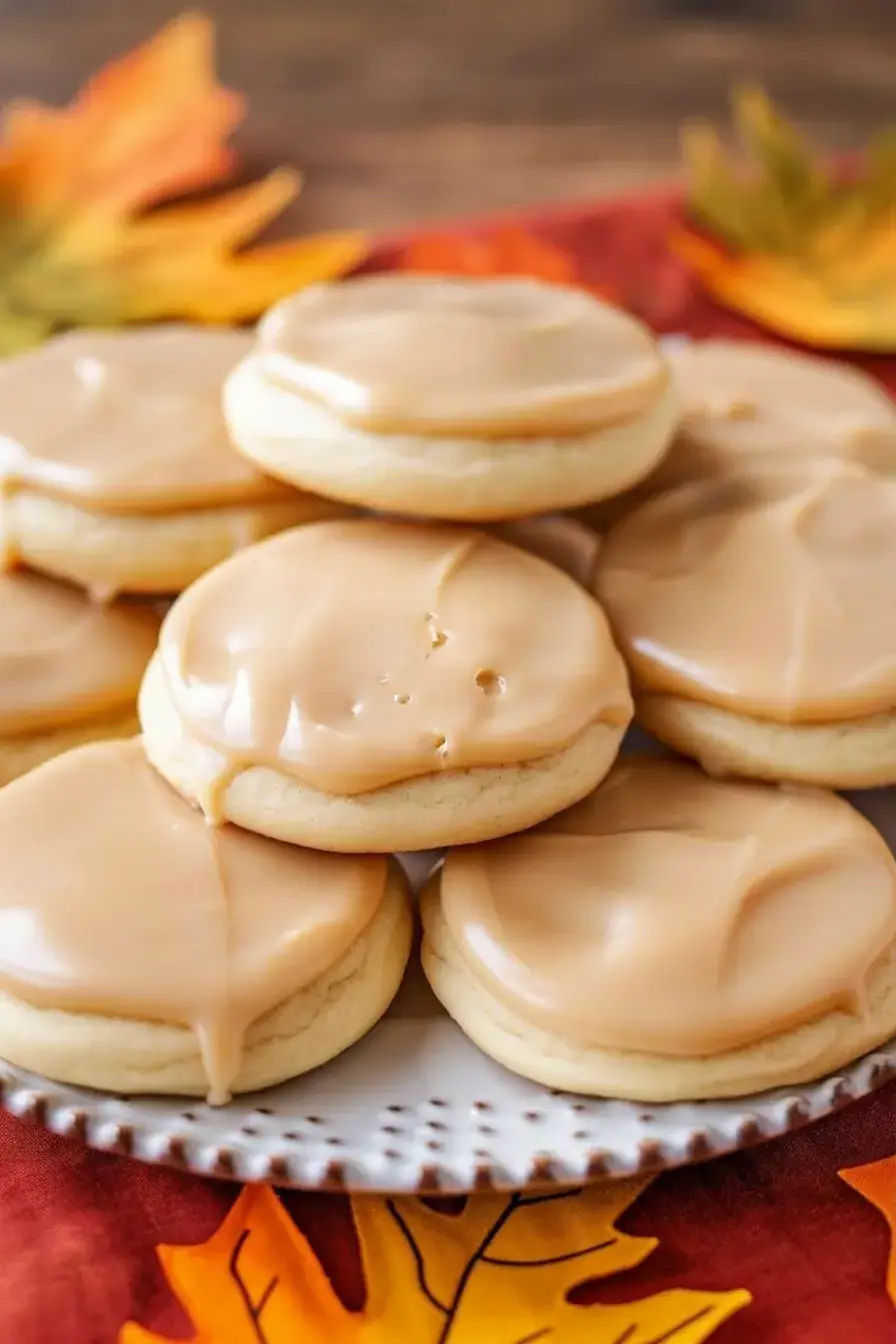
These cookies are soft and cake like, with a deep maple flavor that comes through in both the tender crumb and the glossy icing on top.

What makes this particular recipe stand out is how approachable it is. You do not need any fancy equipment or hard to find ingredients. Just good butter, all purpose flour, sugar, and the real star: maple extract.
The dough comes together quickly, and while the cookies bake for just a few minutes, you can whip up the rich brown sugar and maple syrup icing on the stovetop.
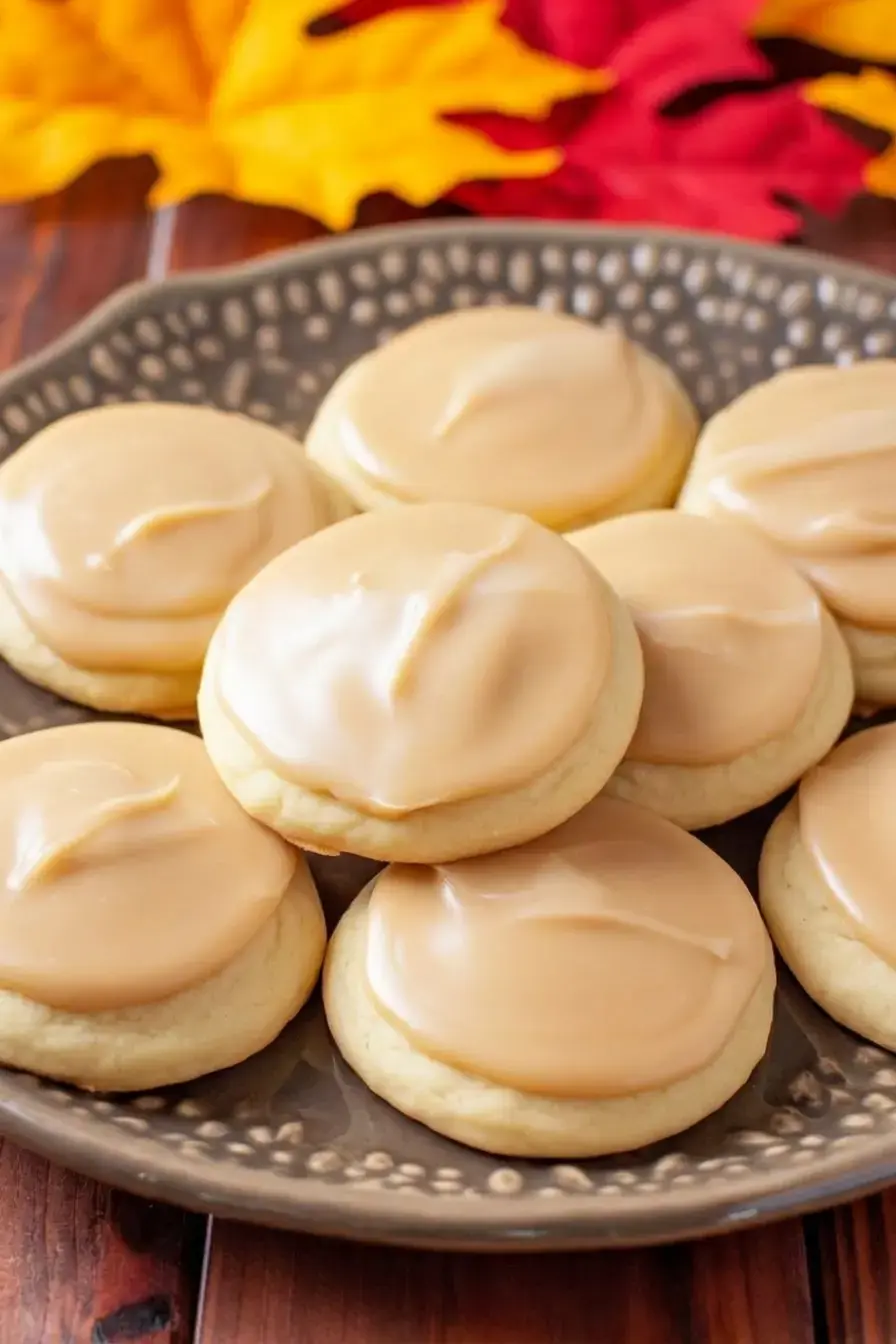
That double hit of maple is what keeps everyone reaching for a second or third cookie before the icing has even fully set.
They are perfectly suited to holiday baking, but honestly, I find myself making a batch whenever I want the house to smell like a cozy New England sugar shack.
The finished cookies are pale and puffy, almost like little cake domes, and the icing spreads on like a silky blanket before firming up just enough to stack. Whether you are baking for a cookie swap, a family gathering, or just a quiet weekend treat, these maple cookies carry a nostalgic charm that feels both timeless and deeply comforting.
Jump To
Why You’ll Love Maple Cookies with Maple Icing
There are certain recipes that feel like a hug from the inside out, and these maple cookies are exactly that.
I remember the first time I brought a batch to a neighborhood potluck; by the time I turned around, the plate was nearly empty, and someone was already asking for the recipe.
That is the kind of reaction these cookies get, and here is exactly why they deserve a permanent spot in your baking rotation.
First, the flavor is pure, cozy maple. Unlike cookies that only hint at maple through a drizzle, this recipe layers it into both the soft cookie dough and the buttery icing.
The result is a pronounced, authentic maple taste that feels like a crisp fall morning. It is not overpowering, but it is unmistakable, and it pairs beautifully with a hot cup of coffee or a mug of spiced cider.
The texture is another reason to love them. These are not thin, crispy cookies that shatter when you bite into them. Instead, they bake up soft, fluffy, and almost cake like.
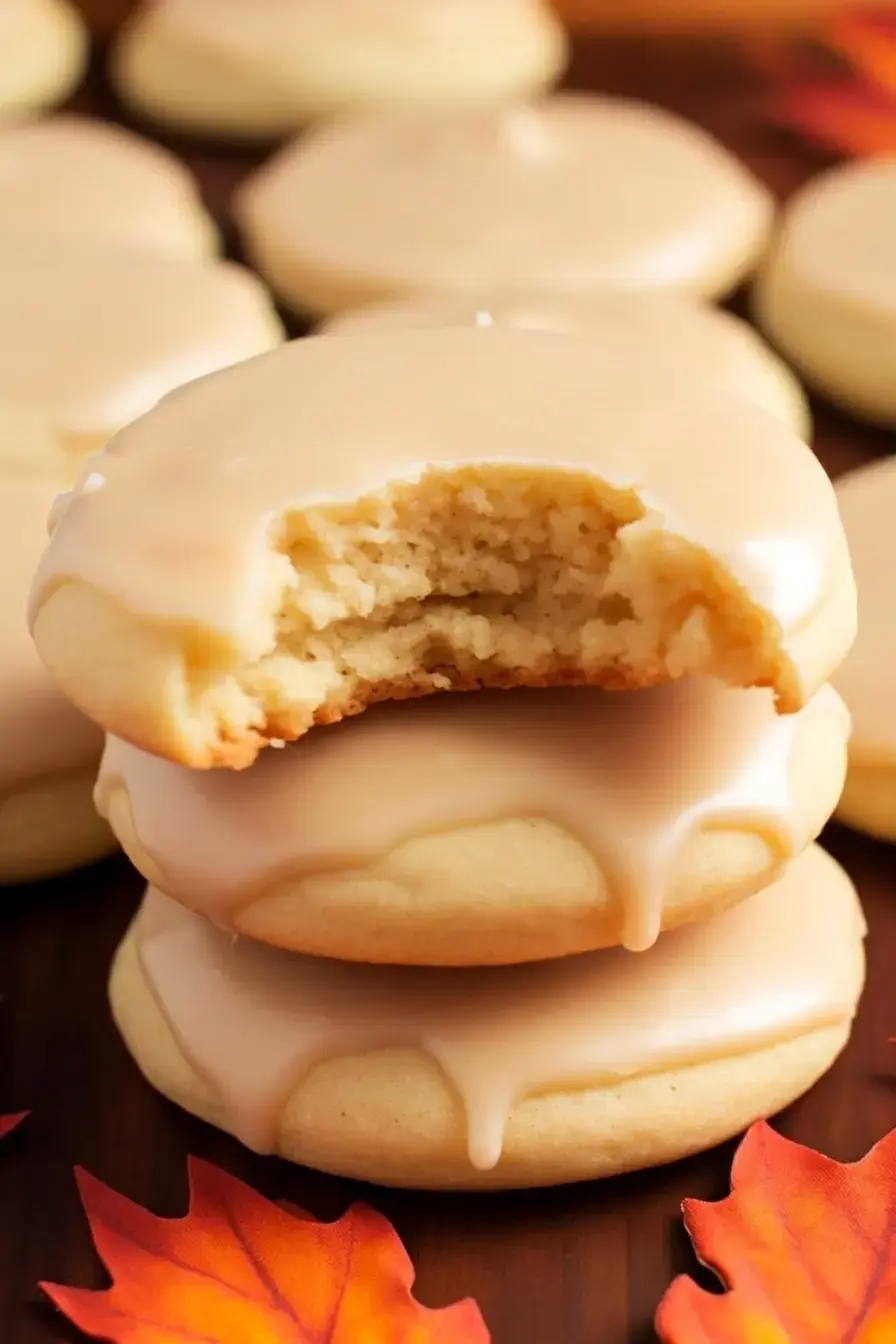
They have a tender crumb that stays moist for days, thanks to the buttermilk in the dough. When you spread the icing on top, it soaks just slightly into the warm cookie, creating a melt in your mouth experience that is hard to beat.
Even if you are a beginner baker, this recipe is straightforward and forgiving. The dough does not require chilling, and the steps are simple enough to follow without stress.
I have made these on busy weeknights when I needed a quick baking project to unwind, and they always turn out beautifully. Plus, they are incredibly versatile.
You can serve them at a holiday dessert table, pack them in a lunchbox, set them out for a tea party, or just enjoy one as an afternoon snack.
No matter the occasion, these soft maple cookies with their glossy icing bring a little bit of homemade joy.
Ingredient Notes For Maple Cookies with Maple Icing
Understanding the role of each ingredient is the key to baking with confidence, and it is something I always go over before I start measuring. When you know why a particular element is in the bowl, you are more likely to get consistent, delicious results.
Here is a closer look at what goes into these maple cookies and why each one matters.
Unsalted Butter: I always reach for unsalted butter when I bake, and this recipe uses it in both the cookie dough and the icing. It gives you complete control over the saltiness while still delivering that rich, creamy base that makes the cookies tender.
Make sure your butter is properly softened for the cookie dough so it creams smoothly with the sugar. For the icing, you will melt it with the brown sugar on the stovetop to create a glossy, caramel like foundation.
Sugars: You will notice the recipe uses two different types of sugar, and that is by design. Granulated white sugar goes into the cookie dough, where it creams with the butter to build structure and a light, fluffy texture.
Meanwhile, brown sugar is reserved for the icing. It melts down with the butter into a deep, molasses kissed syrup that gives the icing a richer flavor than powdered sugar alone could provide.
This balance of sweeteners is part of what makes the finished cookies so special.
Maple Extract and Maple Syrup: This is where the magic happens. Maple extract is the star of the cookie dough, infusing every bite with concentrated maple flavor.
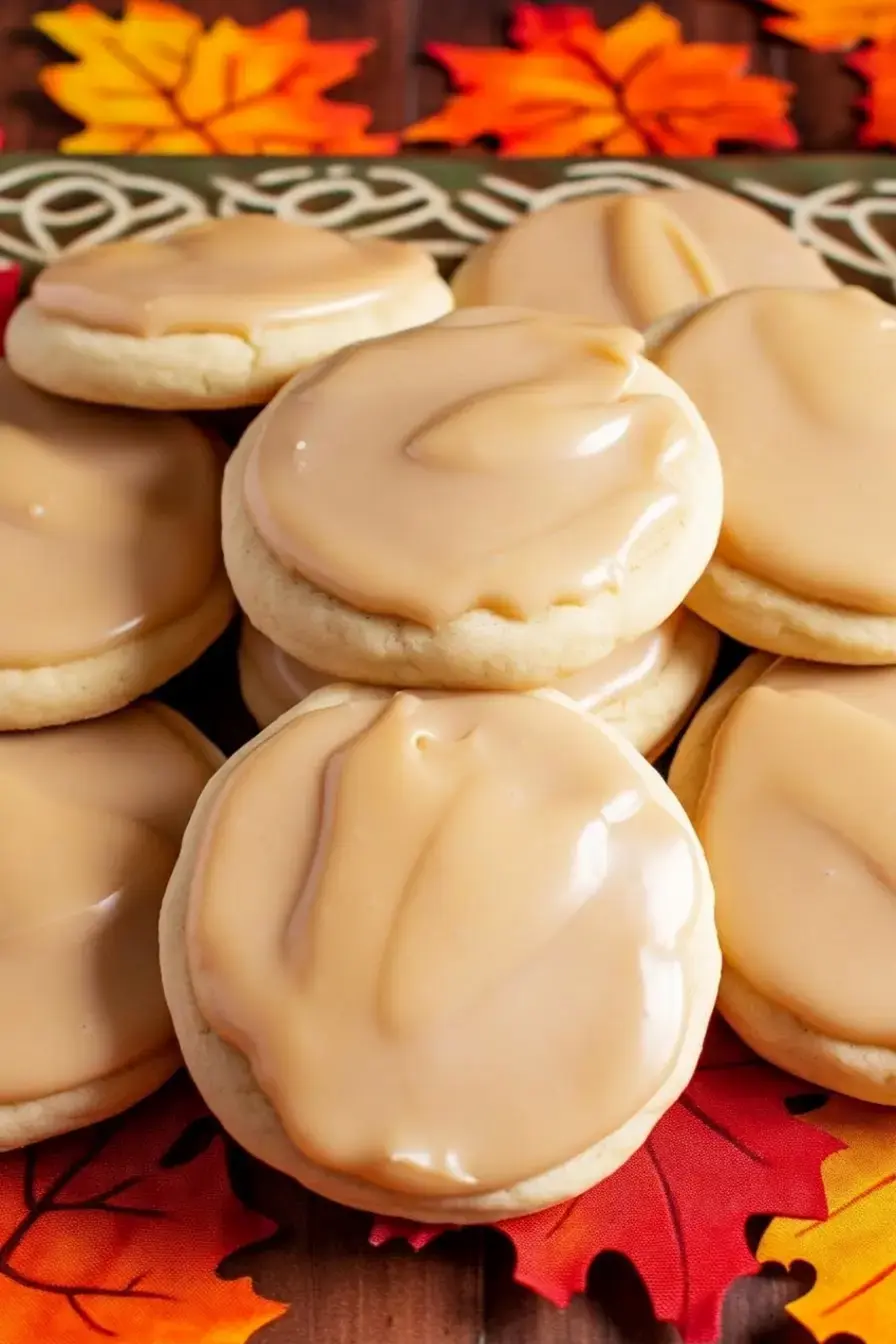
It is far more reliable than using only maple syrup in the dough, which can make the texture too wet. For the icing, however, real maple syrup joins the party.
It adds an authentic, slightly woodsy maple note that a pure extract cannot fully replicate on its own. Together, they create the double maple impact that defines this recipe.
Buttermilk: I will admit, buttermilk is one of my secret weapons for tender baked goods. Its slight tang balances the sweetness of the cookie, and more importantly, its acidity reacts with the baking soda to produce a softer, fluffier crumb.
If you do not have buttermilk on hand, you can make a quick substitute by adding a teaspoon of lemon juice or white vinegar to regular milk and letting it sit for five minutes, but the real thing is always best.
All Purpose Flour: Standard all purpose flour keeps the texture of these cookies light and fluffy rather than dense. You will add it in two batches, which helps prevent overmixing. When you overwork the flour, gluten develops too much, and that can make the cookies tough instead of tender. Gentle mixing is your friend here.
Powdered Sugar: The base of the icing is powdered sugar, also known as confectioners’ sugar. It dissolves smoothly into the warm butter and brown sugar mixture, creating a spreadable glaze without any gritty texture. When you whisk it in gradually, it transforms the liquid into a thick, glue like consistency that sets up beautifully on top of the cookies.
A quick note on maple extract: Unlike vanilla, maple extract can vary in strength between brands. I recommend starting with a reputable brand and tasting the batter, yes, I am giving you permission to taste, to see if the maple flavor comes through strongly enough for your liking before you add the flour.
How To Make Maple Cookies with Maple Icing
I have made this recipe enough times now that the steps feel like second nature, but I still remember the first time I pulled it together in my own kitchen.
There is a quiet rhythm to it: creaming the butter, cracking the eggs, and then waiting for that first wave of maple scent to hit when the cookies are in the oven. Here is exactly how to do it, step by step.
Step 1: Get the oven ready. Preheat your oven to 350 degrees Fahrenheit. While it is heating, line a baking sheet with parchment paper. I find parchment helps the cookies bake evenly and prevents any sticking, which is especially useful for these soft, tender cookies that can be delicate when warm.
Step 2: Cream the butter and sugar. In a large mixing bowl, combine the softened unsalted butter with the granulated sugar. Using a hand mixer or a stand mixer fitted with the paddle attachment, beat them together until the mixture is genuinely light and fluffy.
This usually takes about two to three minutes. You are not just stirring here; you are whipping air into the butter and sugar, which helps create that soft, cake like texture we are after.
Step 3: Add the wet ingredients one at a time. Crack the eggs into a small bowl first, a habit I picked up to avoid chasing stray shells, and then add them one at a time to the butter mixture.
Beat well after each addition so each egg is fully incorporated. Next, pour in the buttermilk slowly while you continue mixing at a low speed.
The batter may look a little curdled at this point, but do not worry, it will come together as soon as you add the dry ingredients.
Step 4: Mix in the flavorings and leavening. Add the salt, vanilla extract, maple extract, baking soda, and baking powder directly to the bowl. Mix just until everything is combined.
The baking soda and baking powder are what give the cookies their lift, creating that puffy, tender crumb. The maple extract is the star here, so take a moment to enjoy that aroma.
Step 5: Add the flour gently. This is the step where a light hand makes all the difference. Add about half of the all purpose flour to the bowl and mix on low speed just until you cannot see any dry streaks.
Then add the remaining flour and mix again, just until a consistent dough forms. Stop the mixer as soon as the flour disappears. Overmixing at this stage can overdevelop the gluten and make the cookies tough, and we want them to stay soft and tender.
Step 6: Scoop onto the baking sheet. I like to use a spoon or a small cookie scoop to portion out about two tablespoons of dough for each cookie. Space the mounds about two inches apart on your prepared baking sheet. They will spread a little, but not dramatically, so that spacing gives them enough room to puff up nicely.
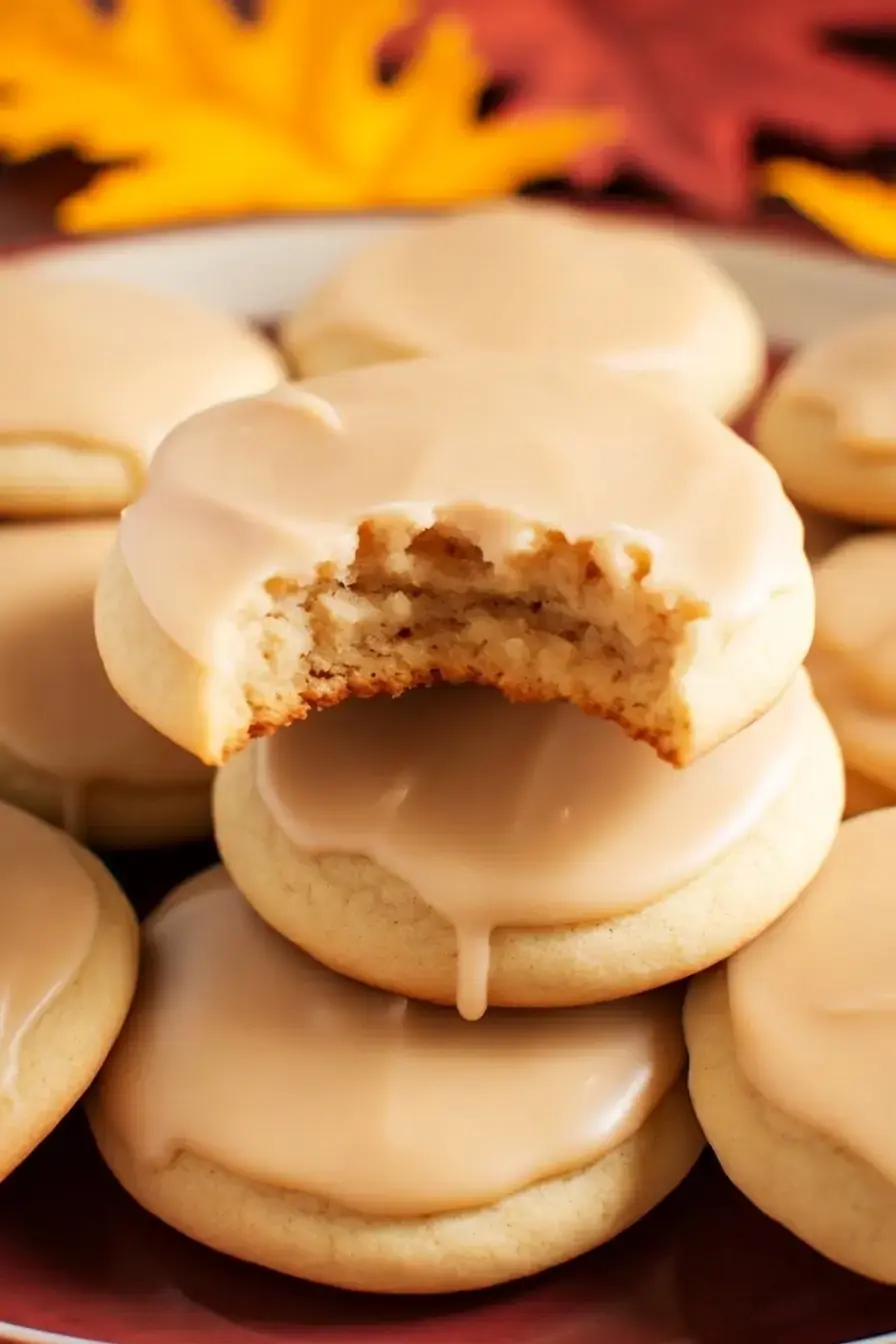
Step 7: Bake, but do not overbake. Slide the baking sheet into the preheated oven and set a timer for six minutes. Start checking them at that point, they will likely need between six and eight minutes total.
The cookies should look set on top but remain pale in color. They might not look fully done to you, and that is exactly right.
Overbaking robs them of their soft, cake like texture, so pull them out when they are just barely set and still light in color.
Step 8: Cool carefully. Let the cookies rest on the hot baking sheet for a few minutes before you try to move them. This allows them to firm up slightly so they do not fall apart when you transfer them.
After those few minutes, carefully move them to a wire rack to cool completely. They need to be fully cooled before you add the icing, otherwise the icing will melt and slide right off.
Step 9: Make the icing on the stovetop. While the cookies are cooling, you can prepare the maple icing. In a saucepan over medium heat, combine the unsalted butter and brown sugar.
Stir as they melt together, and once it starts bubbling, let it boil for two minutes while you whisk continuously. This step creates a smooth, caramel like base.
Next, pour in the milk, maple syrup, and a pinch of salt, and bring the mixture back to a boil for one more minute, still whisking. Remove the pan from the heat and let this hot liquid cool for 15 minutes.
It needs to be warm, not scalding, before you add the powdered sugar.
Step 10: Finish and spread the icing. Gradually whisk the powdered sugar into the cooled brown sugar mixture. Keep whisking until it reaches a thick, glue like consistency.
If it becomes too thick to spread easily, add a little more milk, just one tablespoon at a time, until it loosens up. Work quickly now: spread the icing over the completely cooled cookies using a spoon or an offset spatula.
The icing will start to thicken and set as it cools, so spread it swiftly for the smoothest finish. Once all the cookies are iced, leave them out until the icing sets completely before you stack or store them.
| Task | Approximate Time | Key Tip |
|---|---|---|
| Prep cookie dough | 30 minutes | Do not overmix the flour |
| Bake cookies | 6 to 8 minutes | Pull them out while pale |
| Prepare icing | 20 minutes | Cool the base before adding sugar |
| Ice and set cookies | 10 minutes | Spread icing while still warm |
Storage Options
One of the things I love most about these maple cookies is that they stay wonderfully soft for days if you store them correctly, though I have to admit, they rarely last that long in my house.
Here is how to keep them fresh whether you are saving them for later in the week or freezing a batch ahead of the holidays.
Room temperature. Once the icing has set completely, place the cookies in an airtight container with layers of parchment paper between them to prevent sticking. Stored this way at room temperature, they will stay moist and delicious for up to five days.
I keep them on the counter in a sealed cookie tin, and they taste just as good on day four as they did on day one.
Refrigerator. If you prefer a firmer icing or you need the cookies to last a little longer, you can store them in a covered container in the refrigerator for up to one week.
The chill makes the icing set quite firm, which I actually enjoy as a contrast to the soft cookie underneath. Just keep in mind that refrigerated cookies are best eaten within that first week before they start to dry out.
Freezer. For longer storage, these cookies freeze beautifully. Arrange them in a single layer inside a freezer safe, sealed container, again using parchment paper between layers.
When you are ready to enjoy them, simply transfer the cookies you need to a plate and let them thaw at room temperature. They come back to life quickly, and the texture remains wonderfully tender.
I often freeze a dozen before a holiday gathering, and pulling them out the night before feels like a little gift to my future self.
Variations and Substitutions
While I am fiercely loyal to the classic version of this recipe, I also know that kitchens run on flexibility.
Over the years, I have tweaked and tested a few variations, whether for friends with dietary needs or just to change things up when the mood strikes. Here are some simple ways to adapt these maple cookies without losing their cozy charm.
Make them vegan. To bake a fully vegan batch, you will need to swap a few key ingredients. Replace the unsalted butter with a high quality vegan butter stick, the kind that is solid at room temperature.
Use a plant based milk, such as oat or almond milk, in place of the dairy milk, and look for a reliable egg replacer to substitute for the eggs.
The results are still soft and maple forward, though the icing may set a bit differently, so adjust the milk quantity slowly until you reach that spreadable consistency.
Go gluten free. If you are avoiding gluten, you can replace the all purpose flour with a trusted gluten free flour blend that is designed to measure cup for cup like regular flour.
Look for one that contains a binder such as xanthan gum, which helps mimic the structure and tenderness that gluten normally provides. The cookies will still be soft and cakey, although the crumb might be slightly more delicate.
Switch up the extract. I am a firm believer that maple extract is what gives these cookies their signature identity, but I also understand that sometimes you are simply out of it or want to experiment.
You can substitute vanilla extract or even almond extract for a completely different, though still delicious, flavor profile. Almond extract is quite strong, so use it sparingly, about half a teaspoon is often plenty.
The resulting cookies will not taste of maple in the same way, but they will be beautifully fragrant and unique.
Add some crunch with nuts. This is my go to variation when I want a little textural contrast. Gently fold about half a cup of chopped pecans or walnuts into the finished cookie dough before scooping.
The nuts add a buttery crunch that plays wonderfully against the soft crumb and smooth icing. Toasting the nuts lightly in a dry pan before chopping them deepens their flavor even more.
Add warm spices for the holidays. On a particularly cold December afternoon, I sometimes whisk a teaspoon of ground cinnamon or a quarter teaspoon of freshly grated nutmeg into the dry ingredients.
It gives the cookies a subtle warmth that makes them taste even more like the holiday season. You can also go a step further and add a tiny pinch of ground cloves or allspice, but start small.
You want the maple to remain the hero, with the spices simply humming in the background.
No matter which variation you try, the magic of these cookies lies in their soft texture and the comforting ritual of making them. It is a recipe that invites you to slow down, enjoy the process, and fill your kitchen with the smell of something truly wonderful.
FAQs
Why does this recipe use maple extract instead of maple syrup in the cookie dough?
This recipe uses maple extract in the cookie dough because it provides a concentrated, consistent maple flavor that does not add extra liquid, which would alter the dough's texture. Maple syrup is used in the icing to contribute sweetness and a deeper maple taste. Using extract in the dough ensures the cookies remain soft and cake-like without becoming too wet.
How do I know when the maple cookies are done baking?
The cookies are done after baking for 6 to 8 minutes at 350°F. They should retain a pale color, with the edges just set and the centers still looking soft and slightly underdone. Avoid overbaking, as the cookies will continue to cook from residual heat on the baking sheet, ensuring a soft and fluffy texture.
What is the best way to store maple cookies with maple icing?
Store the cookies in an airtight container at room temperature for up to 5 days. For firmer icing, refrigerate them in a covered container for up to 1 week. To freeze, place the cookies in a sealed container and thaw at room temperature before serving. Adding a slice of bread to the container helps maintain softness by absorbing excess air.
Can I make these maple cookies gluten-free or vegan?
Yes, you can adapt the recipe. For a gluten-free version, replace the all-purpose flour with a gluten-free blend. For a vegan option, use vegan butter, plant-based milk, and an egg replacer. The cookies will still be soft and flavorful, but the texture may vary slightly from the original recipe that uses buttermilk and eggs.

Maple Cookies with Maple Icing
Maple Cookies with Maple Icing The first time I pulled a tray of these maple cookies from the oven, the kitchen filled with that unmistakable warm, buttery maple aroma, and suddenly I was back at my grandmother’s kitchen table on a chilly autumn afternoon. She had a way of making everything feel like a celebration with just a few simple ingredients and a wooden spoon.
- Total Time: 37 min
- Yield: 48 1x
Ingredients
For the Cookies
1 cup unsalted butter, softened
2 cups granulated sugar
3 large eggs
1 cup buttermilk
½ teaspoon salt
1 teaspoon vanilla extract
2 teaspoons maple extract
1 teaspoon baking soda
1 teaspoon baking powder
4 ½ cups all-purpose flour
For the Icing
½ cup unsalted butter
1 cup brown sugar
¼ cup milk
2 tablespoons maple syrup
1 A pinch of salt
2 cups powdered sugar
Instructions
Preparation of Cookies
1-Preheat the oven to 350°F (175°C): Preheat the oven to 350°F (175°C). Line a baking sheet with parchment paper.
2-In a large mixing bowl, cream the: In a large mixing bowl, cream the butter and granulated sugar together until the mixture is light and fluffy.
3-Add the eggs to the mixture, one: Add the eggs to the mixture, one at a time, ensuring each is fully incorporated before adding the next.
4-Gradually add the buttermilk to the mixture: Gradually add the buttermilk to the mixture while continuing to mix at a low speed.
5-Combine the salt, vanilla extract, maple extract,: Combine the salt, vanilla extract, maple extract, baking soda, and baking powder, and mix into the batter.
6-Gradually incorporate half of the flour into: Gradually incorporate half of the flour into the mixture, ensuring it is well mixed, then add the remaining flour and continue to mix until a consistent dough is formed.
7-Using a spoon, drop approximately two-tablespoon-sized scoops: Using a spoon, drop approximately two-tablespoon-sized scoops of dough onto the prepared baking sheet, spacing them about two inches apart.
8-Bake in the preheated oven for 6: Bake in the preheated oven for 6 to 8 minutes. The cookies should retain a pale color; be cautious not to overbake.
9-After baking, allow the cookies to cool: After baking, allow the cookies to cool on the baking sheet for a few minutes before transferring them to a wire rack to cool completely.
Preparation of Icing
10-In a saucepan over medium heat, melt: In a saucepan over medium heat, melt the butter and brown sugar, bringing the mixture to a boil for two minutes while whisking continuously.
11-Add the milk, maple syrup, and a: Add the milk, maple syrup, and a pinch of salt to the saucepan, and bring the mixture to a boil again for one minute, continuing to whisk.
12-Remove the saucepan from heat and allow: Remove the saucepan from heat and allow the mixture to cool for 15 minutes.
13-Gradually add the powdered sugar to the: Gradually add the powdered sugar to the mixture, whisking until it reaches a glue-like consistency. If the icing is too thick, add milk, one tablespoon at a time, to achieve the desired consistency.
14-Spread the icing over the cooled cookies: Spread the icing over the cooled cookies quickly, as it will thicken upon cooling. If necessary, add additional milk to maintain a spreadable consistency.
15-Allow the icing to set before storing: Allow the icing to set before storing the cookies in a covered container.
Last Step:
Please leave a rating and comment letting us know how you liked this recipe! This helps our business to thrive and continue providing free, high-quality recipes for you.- Prep Time: 30 min
- Cook Time: 7 min
- Method: bake


