Ingredients
2 1/2 cups all-purpose flour (300g) for crust
2/3 cups powdered sugar (66g), plus extra for dusting
1/2 teaspoon salt
12 tablespoons unsalted butter, melted (170g) for crust
1/2 cup all-purpose flour (60g) for filling
Zest of 3 lemons (approx. 3 tablespoons) for filling
3 cups granulated sugar (600g) for filling
8 large eggs, room temperature for filling
1 cup fresh lemon juice (240mL) for filling
Instructions
First Step: Preheat and Prep Your Pan Begin by preheating your oven to 350°F (175°C) to get it nice and hot for even baking. Line a 9×13 inch baking dish with parchment paper for easy removal later this step prevents sticking and makes cleanup a breeze. Once that’s done, you’re set to move on to the crust, adapting for dietary needs like using gluten-free flour if required.
Second Step: Make the Crust Whisk together 2 1/2 cups all-purpose flour, 2/3 cups powdered sugar, and 1/2 teaspoon salt in a large bowl to combine the dry ingredients evenly. Pour in the 12 tablespoons of melted unsalted butter and mix until it forms a dough that holds together. Press this mixture evenly into your prepared pan, then bake for 20 minutes until it’s lightly golden this creates a sturdy base that pairs perfectly with the filling.
Third Step: Prepare the Filling While the crust bakes, pulse the zest of 3 lemons with 3 cups granulated sugar in a food processor until the sugar turns pale yellow and the zest is fully incorporated for a manual option, finely mince the zest and mix it in. In a separate large bowl, combine this lemon-sugar mixture with the remaining 1/2 cup all-purpose flour, stirring well to avoid lumps. Whisk in 1 cup fresh lemon juice and 8 large room-temperature eggs until the filling is smooth and glossy, which helps it set properly for various preferences.
Fourth Step: Assemble and Bake Once the crust is out of the oven, pour the filling over it while it’s still warm to help them bond perfectly. Pop it back in the oven and bake for 25 minutes, rotating the pan halfway through for even cooking. The bars are ready when the edges are firm and the center just sets don’t worry if it wobbles a bit, as it firms up during cooling, and you can adjust baking time for low-calorie versions.
Fifth Step: Cool and Chill Let the bars cool at room temperature for about 1 hour to stop the cooking process and set the texture. Then, refrigerate them for at least 2 hours to fully chill this step is crucial for clean cuts and that perfect firmness, especially if you’re making them ahead for busy schedules. For protein alternatives, this is a great time to think about any customizations you’ve made.
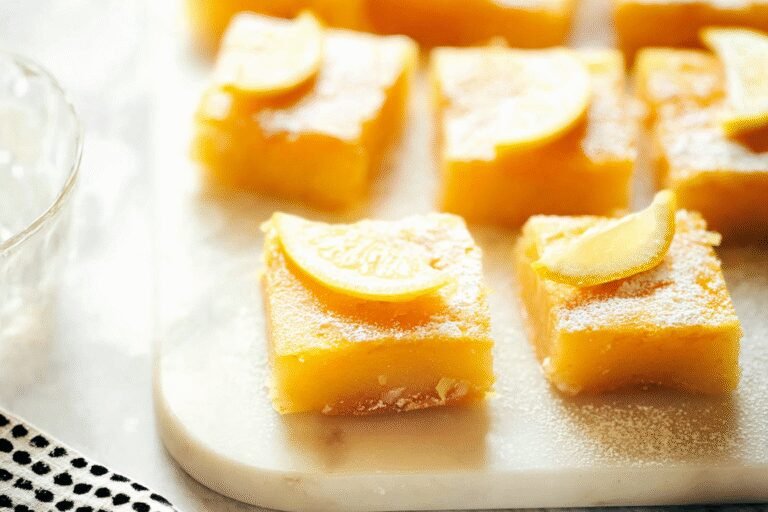
Final Step: Serve and Enjoy Dust the top with extra powdered sugar if you want that classic look, then cut into bars using a sharp, damp knife remember to clean and re-dampen it between cuts for neat slices. Serve them chilled or at room temperature for the best flavor, and they’re fantastic as a light dessert after a grilled meal. Total time is around 4 hours 15 minutes, including prep, cooking, and chilling, making it adaptable for everyone from weekend grill masters to baking enthusiasts.
Last Step:
Please leave a rating and comment letting us know how you liked this recipe! This helps our business to thrive and continue providing free, high-quality recipes for you.Notes
🍋 Use fresh lemon juice for the best bright flavor.
📄 Line the pan with parchment paper to ensure easy removal.
🔪 Wipe the knife clean and dampen between cuts for neat bars.
- Prep Time: 20 minutes
- Chill time: 3 hours
- Cook Time: 45 minutes
- Category: Dessert
- Method: Baking
- Cuisine: American
- Diet: Vegetarian
Nutrition
- Serving Size: 1 bar
- Calories: 385
- Sugar: 46g
- Sodium: 113mg
- Fat: 12g
- Saturated Fat: 7g
- Carbohydrates: 66g
- Fiber: 1g
- Protein: 6g
- Cholesterol: 111mg