Ingredients
– 1/2 cup protein powder for adding structure and boosting the protein content
– 1/4 cup coconut flour for absorbing moisture and giving soft rollable texture
– 3 tablespoons granulated sugar or sugar-free substitute for adding sweetness and balancing the tang of the cream cheese
– 6 tablespoons cream cheese for rich creamy base
– 4 cookies, crushed for Oreo-style flavor and crunchy cookie bits
– 1 to 2 tablespoons milk, if needed for thinning the dough
– 3 to 4 tablespoons white chocolate chips for decoration and a sweeter finish
Instructions
1-First Step: Prep the cookies Start by chopping the 4 cookies finely. You want small crumbs with a few tiny chunks, not large pieces. This helps the cookies spread through the mixture evenly and gives every bite that cookies and cream taste. If you are using a food processor, pulse just a few times so the cookies do not turn into dust.
2-Second Step: Mix the dry ingredients In a medium mixing bowl, combine the 1/2 cup protein powder, 1/4 cup coconut flour, and 3 tablespoons granulated sugar or sugar-free substitute. Stir well so the sweetener and flour are evenly distributed. This step matters because it keeps the dough from tasting uneven later.
3-Third Step: Add the creamy ingredients Add the 6 tablespoons cream cheese and the crushed cookies to the bowl. Mix with a sturdy spoon or spatula until the mixture starts to come together. At first it may look a little dry, but keep stirring and pressing the mixture against the sides of the bowl. The cream cheese will soften and help bind everything together.
4-Fourth Step: Adjust the texture If the dough feels too thick or hard to combine, add 1 tablespoon of milk and mix again. If it still seems too dry, add the second tablespoon. The goal is a soft dough that holds together when squeezed. If the dough gets too soft, add a little more coconut flour, one teaspoon at a time, until it firms up. Texture can vary depending on the protein powder you use. Whey protein often makes the mixture a bit gummier, while other powders can be drier or softer. That is normal, so do not worry if your first stir needs a little adjustment.
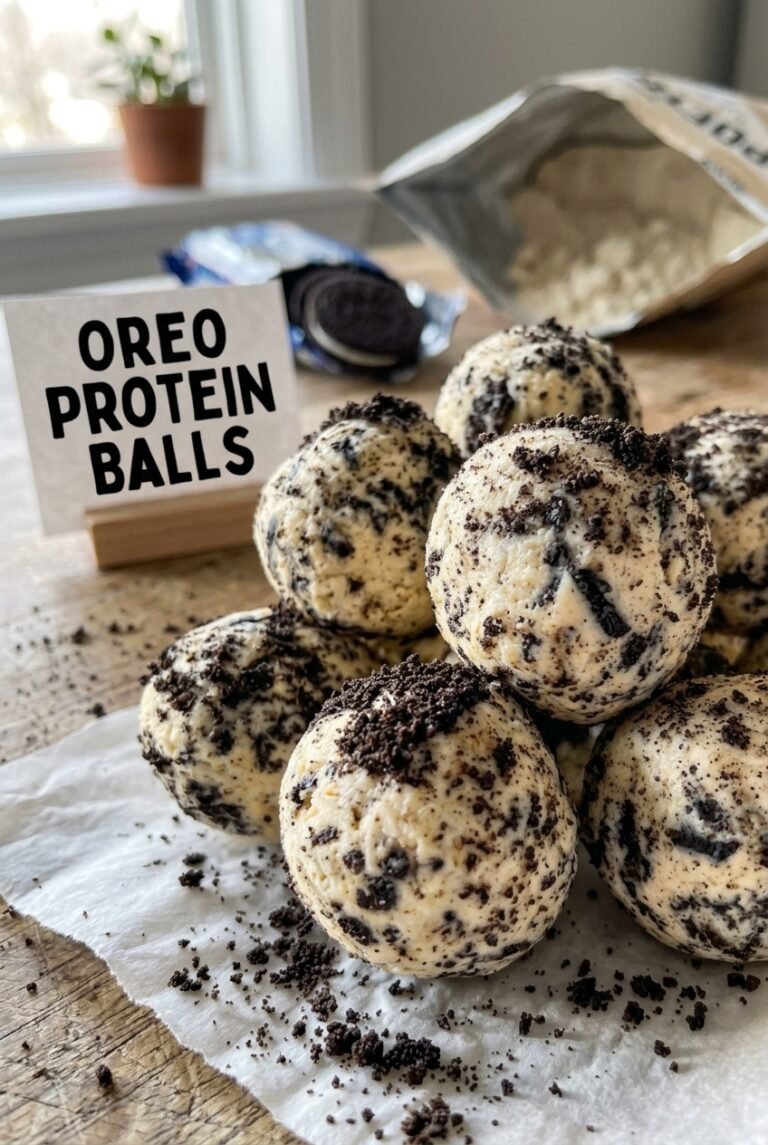
5-Fifth Step: Roll into balls Once the dough is mixed evenly, scoop out tablespoon-sized portions and roll them between your palms. If the mixture sticks to your hands, lightly chill the bowl for 10 to 15 minutes before rolling. This makes the dough easier to handle and helps the balls hold their shape. Place each ball on a parchment-lined plate or tray. You should get several small snack-sized bites from this batch, which makes them great for portioning into lunchboxes or grab-and-go containers.
6-Sixth Step: Add the white chocolate finish If you want a sweeter look, melt the 3 to 4 tablespoons white chocolate chips and drizzle the chocolate over the tops of the balls. You can also dip the tops lightly or use a spoon to create a simple zigzag pattern. This step is optional, but it gives the cookies and cream protein balls a bakery-style finish.
7-Final Step: Chill and serve Let the balls chill in the fridge for at least 20 to 30 minutes so they firm up. After that, they are ready to eat. Serve them cold for the best texture, or pack them for later as a quick snack, dessert, or post-workout bite. With only 10 minutes of prep time, these no bake Oreo protein balls are one of the easiest treats you can make at home.
Last Step:
Please leave a rating and comment letting us know how you liked this recipe! This helps our business to thrive and continue providing free, high-quality recipes for you.Notes
💪 Note that whey protein may make the balls gummier; try other types like plant-based for smoother texture.
🔧 Adjust the dough with more coconut flour if too soft, or a splash of milk if too thick, for perfect consistency.
❄️ Store in the fridge for 5-7 days or freeze for up to 4 months; great for meal prep.
- Prep Time: 10 minutes
- Category: Snacks
- Method: No Bake
- Cuisine: American
- Diet: Vegetarian, High Protein
Nutrition
- Serving Size: 1 protein ball
- Calories: 74 kcal
- Sugar: 3g
- Sodium: 71mg
- Fat: 3g
- Saturated Fat: 2g
- Unsaturated Fat: 1g
- Trans Fat: 0g
- Carbohydrates: 7g
- Fiber: 1g
- Protein: 5g
- Cholesterol: 16mg