Ingredients
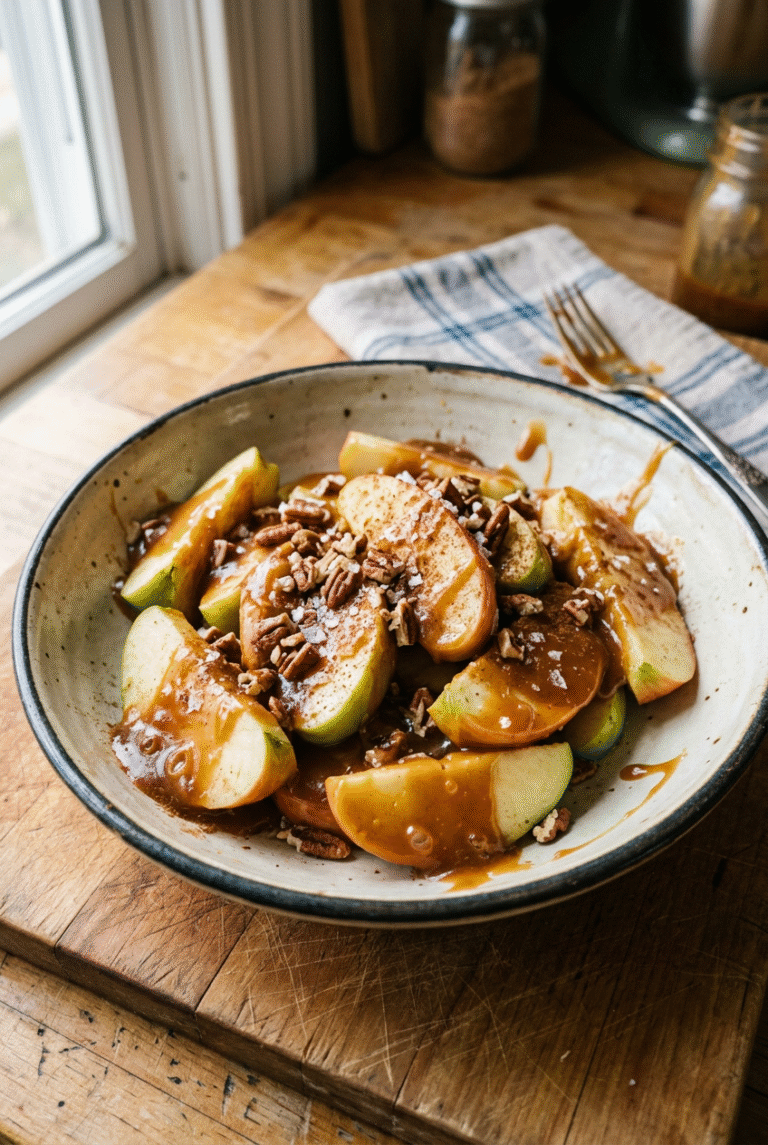
– 2 large apples (cored and sliced) The main component
– 1 1/2 cups caramel baking bits The caramel coating
– 1 tablespoon heavy cream Adds creaminess to the melted caramel for a smoother dip and better coating consistency
– Crushed nuts or sprinkles for topping
Instructions
1-First Step: Prep and mise en place
* Gather ingredients: 2 large apples (cored and sliced), 1 1/2 cups caramel baking bits, 1 tablespoon heavy cream, and crushed nuts or sprinkles for topping.
* Peel and slice the apples into 1/2-inch thick wedges. Set the slices aside on a cutting board or tray. If you prefer unpeeled apples for color and extra fiber, that works too.
* Pat each slice completely dry with paper towels. Dry fruit helps the caramel stick and keeps it from sliding off later.
* Prepare a small bowl of icy water and place it close to your workspace for quick setting after dipping.
2-Second Step: Melt the caramel
There are two reliable ways to melt the caramel baking bits and heavy cream: stovetop and microwave.
Stovetop method: Place 1 1/2 cups caramel baking bits and 1 tablespoon heavy cream in a small saucepan. Melt over low heat, stirring frequently. Keep the heat low so the caramel softens without burning. Once smooth and pourable, remove from heat.
Microwave method: Combine the caramel baking bits and heavy cream in a microwave-safe bowl. Heat in 20-second intervals, stirring between bursts, until melted and silky. Short intervals prevent overheating and grainy texture.
3-Third Step: Dip and set
* Thoroughly dry each apple slice again with a paper towel just before dipping. Any surface moisture can cause the caramel to slide.
* Hold a slice by one end and dip the cut side into the warm caramel. Spread the caramel evenly if needed with the back of a spoon.
* Immediately dip the caramel-coated slice into the icy water for 3 to 5 seconds to set the caramel quickly. This trick helps the coating firm up and reduces slippage.
* Gently dry the slice with a paper towel and press toppings like crushed nuts or sprinkles onto the caramel while it is still tacky.
4-Fourth Step: Chill and finish
Place the finished slices on a parchment-lined tray in a single layer. Chill them in the fridge for about 10 to 20 minutes, or pop them in the freezer for 5 to 10 minutes, to fully set the caramel before serving. Chilling makes handling easier and helps the caramel stay put.
5-Final Step: Serving suggestions and timing
* Serve within 4 hours on the same day for the best texture. Over time, caramel can slide and apple slices lose crispness.
* For parties, arrange slices on a platter with small spoons of extra toppings so guests can customize their bites.
* If you need a quick fix for slipping caramel, press a small piece of chopped chocolate onto the caramel and refrigerate to set for better adhesion.
Last Step:
Please leave a rating and comment letting us know how you liked this recipe! This helps our business to thrive and continue providing free, high-quality recipes for you.Notes
💡 Keep apple slices completely dry before dipping to prevent caramel from sliding off
🍫 For extra flavor, dip apples in melted chocolate first and let it harden before adding caramel
⏰ Enjoy within 4 hours on the same day, as caramel may slide and apples lose crispness over time
- Prep Time: 15 minutes
- Chilling time: 15 minutes
- Cook Time: 5 minutes
- Category: Dessert
- Method: No-bake
- Cuisine: American
- Diet: Vegetarian
Nutrition
- Serving Size: 1 slice
- Calories: 66
- Sugar: 11
- Sodium: 37
- Fat: 1
- Saturated Fat: 1
- Unsaturated Fat: 0
- Trans Fat: 0
- Carbohydrates: 13
- Fiber: 0.4
- Protein: 1
- Cholesterol: 2