Ingredients
– 1/2 cup rolled oats
– 2 scoops vanilla protein powder
– 1/3 cup cookie spread
– 5 cookies
– 3 to 4 tablespoons unsweetened almond milk
– 1 tablespoon cookie spread, optional topping
– 1 cookie, optional topping
Instructions
1-First Step: Crush the cookies into fine crumbs Start by placing the 5 cookies into a blender or food processor. Pulse until they turn into fine crumbs. If you do not have a blender, you can place them in a sealed bag and crush them with a rolling pin, but the crumbs may be a little less even. Fine crumbs mix better with the oats and protein powder, which helps the balls hold together later. This step also sets the flavor base. The smaller the crumbs, the more smoothly they blend into the dough. If you want a little more texture, you can leave a few slightly larger pieces, but keep most of them very fine so rolling is easier.
2-Second Step: Mix the dry ingredients Add the rolled oats and vanilla protein powder to a medium mixing bowl. Stir in the cookie crumbs until everything looks evenly mixed. This dry base should smell sweet and a little nutty already, and that is a good sign you are on the right track. Mixing the dry ingredients first helps prevent clumps of protein powder. It also spreads the cookie flavor through every bite. If you want to make the process even smoother, sift the protein powder before adding it, especially if your brand tends to clump.
3-Third Step: Warm the cookie spread Scoop the 1/3 cup cookie spread into a microwave safe bowl. Heat it for about 30 seconds, just until it softens and becomes easy to stir. You do not want it too hot, just loose enough to mix into the dry ingredients. Once softened, pour the cookie spread into the bowl with the oat mixture. Stir well so the warm spread coats the oats and protein powder. This part helps create that rich, creamy flavor that makes Biscoff Cheesecake Protein Balls so satisfying.
4-Fourth Step: Add the almond milk slowly Now pour in the unsweetened almond milk a little at a time, using 3 to 4 tablespoons as needed. Stir after each addition. The mixture should become thick and sticky, not wet or runny. Stop adding milk as soon as the dough can hold its shape when squeezed. If you want a sweeter batch, add a small amount of honey or maple syrup at this stage. Taste the dough before shaping if you can. That way, you can adjust sweetness without going overboard. Since the cookie spread and cookies already bring sweetness, many people only need a tiny drizzle of extra sweetener.
5-Fifth Step: Shape the balls Line a baking sheet with parchment paper. Scoop the mixture and roll it into 1 inch balls with your hands. If the dough sticks, lightly dampen your hands or chill the bowl for 5 minutes before rolling. Place each ball on the parchment lined baking sheet as you go. Try to make the balls similar in size so they chill at the same rate. You should get a batch that looks neat and uniform, which makes them great for meal prep or sharing. If the mixture feels too soft, add a bit more oats or protein powder. If it feels too dry, add a splash more almond milk.
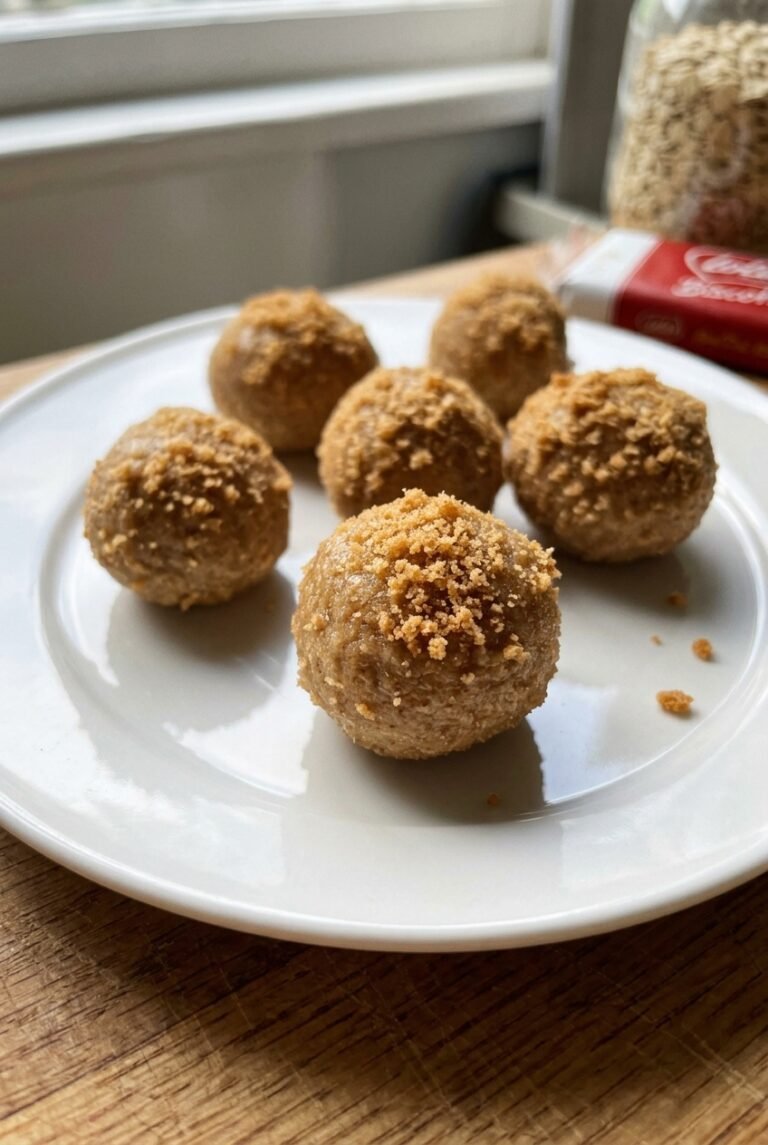
6-Sixth Step: Add the toppings If you want the extra finish, drizzle the balls with the remaining 1 tablespoon of melted cookie spread. Then garnish with cookie crumbs from the optional extra cookie. This step is not required, but it does make the snack look more like a dessert.
7-Seventh Step: Chill until firm Place the tray in the refrigerator for at least 30 minutes. This chilling time helps the balls firm up and keeps them from falling apart when you pick them up. Since this is a no bake recipe, the fridge does all the work that an oven would normally do. After chilling, the texture should feel set on the outside and soft, chewy, and creamy inside. If you want them even firmer, leave them in the fridge a little longer before serving. These also work well for make ahead snacks, which is great for busy parents, students, and working professionals.
8-Final Step: Serve and enjoy Once firm, transfer the No Bake Biscoff Cheesecake Protein Balls to a container or plate. Serve them cold for the best texture. They are perfect for lunchboxes, after school snacks, travel snacks, or a quick bite before heading out the door. The full prep time is about 10 minutes, plus at least 30 minutes of chilling. That makes this one of those easy recipes you can throw together without changing your whole schedule.
Last Step:
Please leave a rating and comment letting us know how you liked this recipe! This helps our business to thrive and continue providing free, high-quality recipes for you.Notes
🔥 Use a blender or food processor for perfectly even cookie crumbs that blend seamlessly into the dough.
🍯 Taste the mixture and adjust sweetness with a drizzle of honey or maple syrup if more flavor is needed.
❄️ Chill thoroughly before serving for the best texture, and store in the fridge to keep them fresh and firm.
- Prep Time: 10 minutes
- Chill Time: 30 minutes
- Category: Snacks
- Method: No Bake
- Cuisine: American
- Diet: Vegetarian, High Protein
Nutrition
- Serving Size: 1 protein ball
- Calories: 100 kcal
- Sugar: 4g
- Sodium: 50mg
- Fat: 5g
- Saturated Fat: 1.5g
- Unsaturated Fat: 3g
- Trans Fat: 0g
- Carbohydrates: 9g
- Fiber: 1.5g
- Protein: 6g
- Cholesterol: 5mg